Tuesday, October 29, 2013

Cropping and Composition

Bracketing adds drama by 1-2-3 stops on the meter.  To either add or take away exposure.

On Manual, you can decide what is most important to you by making your settings on either f/stop or shutter then adjust bracketing to center.  Add drama by clicking +/- a stop or two.

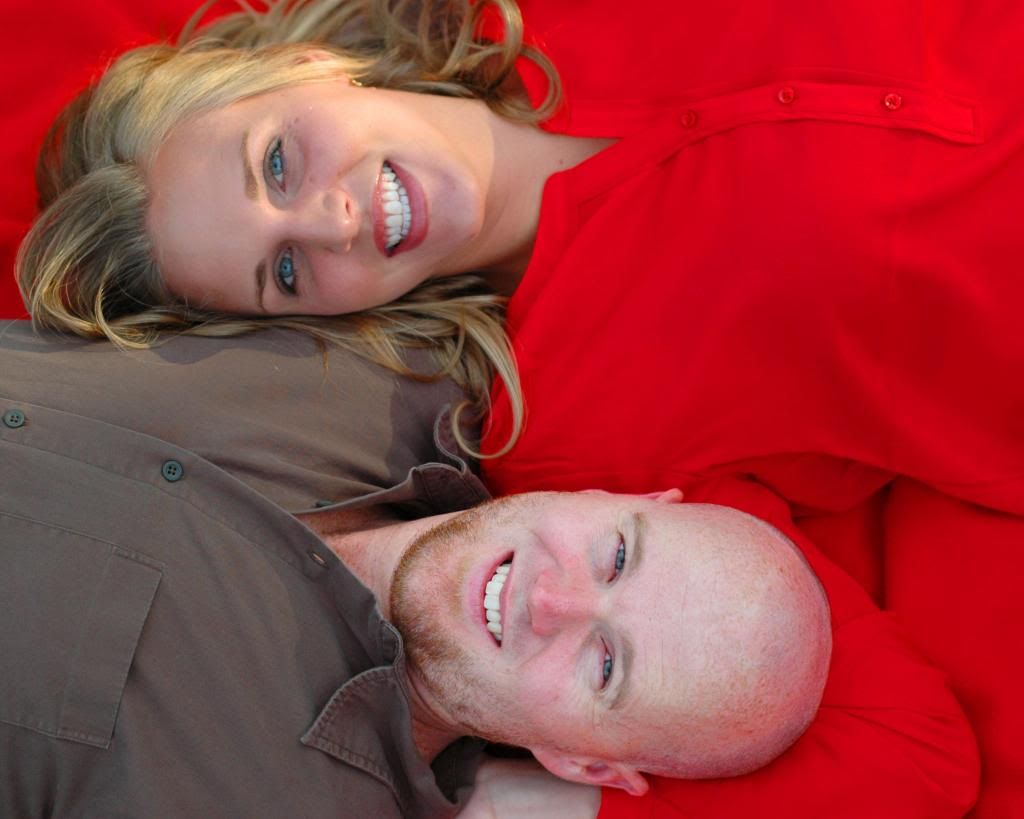
Side Lighting might slim some people, but not in harsh lighting.

 photo Faces_zps24439a66.jpg 

 Reflective lighting can be either silver that will cast a little harsh light or white soft board to make the lighting more soft.  As seasons change the light changes color.  Fall has a harsh lighting because the sun is small.  You may need flash or a reflector.  The best time of year for perfect lighting is the month between June - September.  Use reflector during the Fall and Winter months.  Early Spring and Early Winter are very harsh and difficult.  Digital cameras love soft shade.

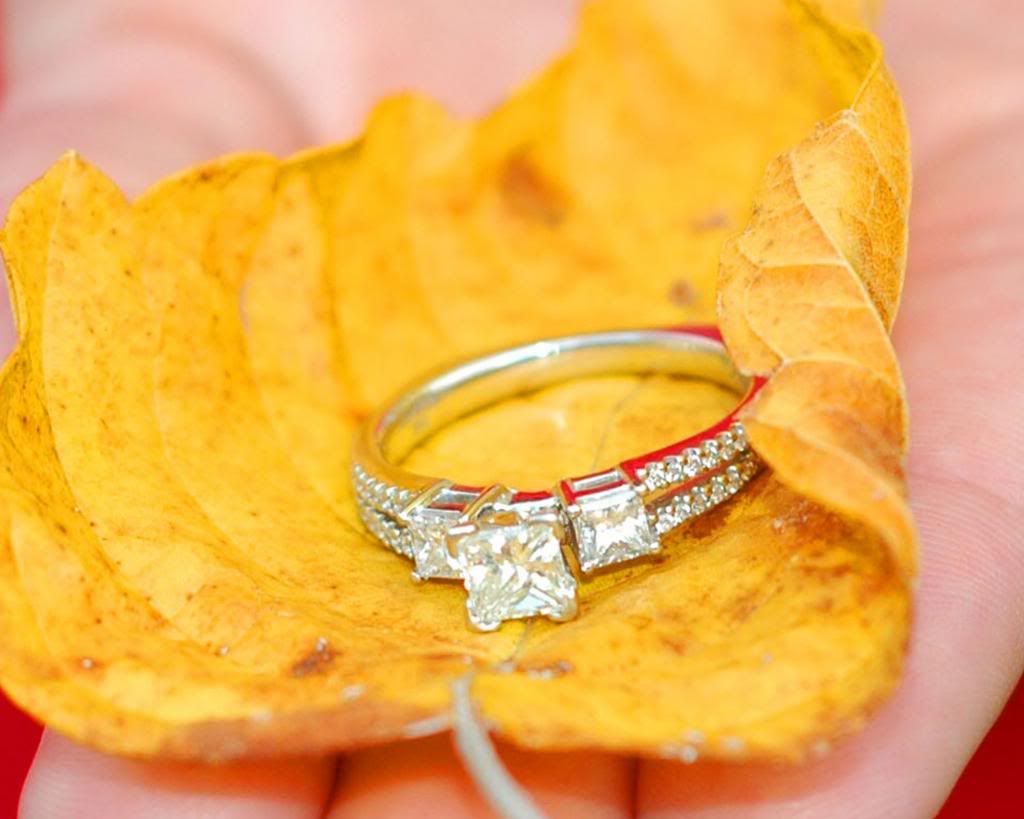
Composition is the art of essences - what moves you.  Simple is the best.  Most have one main subject.  Set it up and before you take the picture, step up and take something you don't need.  Don't make it look busy.

 photo ring_zpsba1c2682.jpg 

For a group of people try to get people to wear solid outfits based on the time of season too.  If the outfits are busy then it will make the picture too busy; thus, distracting.  Get closer to the subject and cut out a lot of the background (busy) and focus on the main subject.

Portrait Shots 
  • Bust Up - Head and shoulders
  • Waist up - Waist 
  • Knees - Just above the knees 
  • Full Length - Full length 

"Don't crop at a joint!" 

Vertical or Horizontal 


 photo DSC_0806_zpsd8e3c109.jpg

 photo DSC_0796_zps892243ca.jpg 
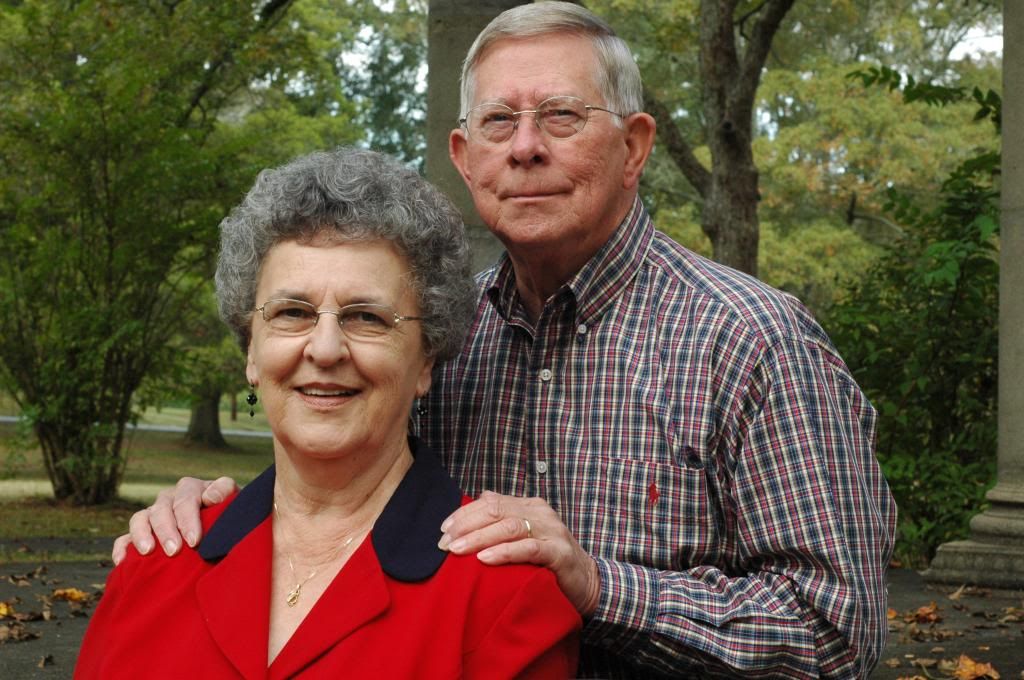
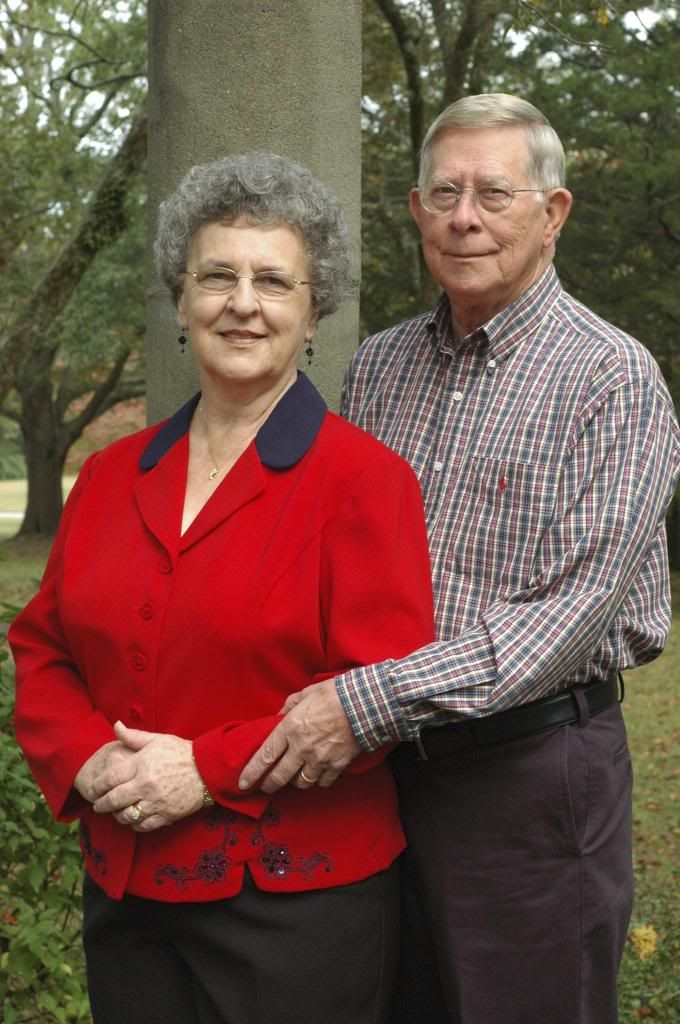
If the subject is taller than wider, go vertical.  If the subject is wider than taller, go horizontal.

Composition 
Simplify 
Whatever your going to take, make it simple.  The more simple, the more impact.

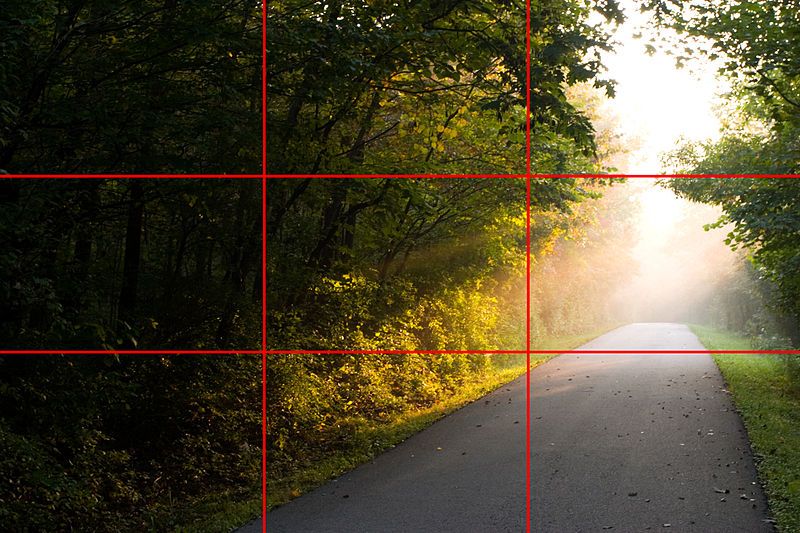
 photo 800px-Rule_of_thirds_photo_zpscd4bd461.jpg Rule of Thirds

Getting the subject out of center.  Be careful with your focusing.  Have the subject facing towards the open area.  Make some room.  An exception would be, if you have something to fill in the void.  Use those lines.  Diagonal lines are especially dynamics.  Make lines interesting because the eyes will follow.  Use trees, streams, building structures, roads, paths, etc.

Perspective
High and low.  You don't want everything at a  high or low angle.  Mix it up.  Short people, take photos either dropped down onto the person or low aiming up will make the person appear tall.  Heavy people, shoot from high looking down, makes them slim.  Don't do this all the time, just every now and then.

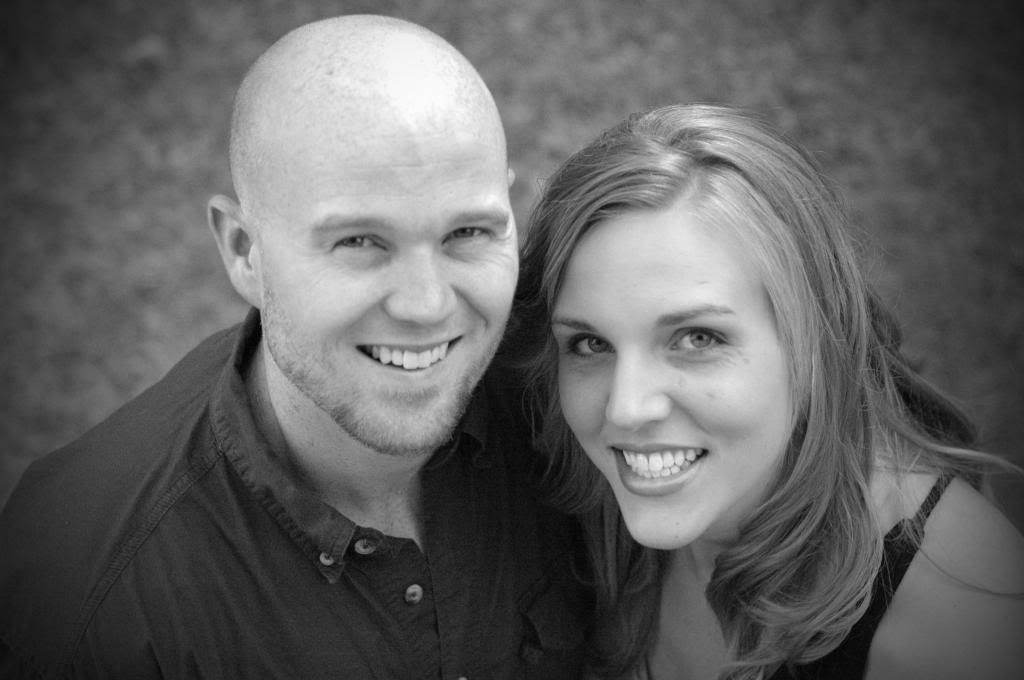
 photo DSC_0765_bampw_vignette_zpsd440974e.jpg

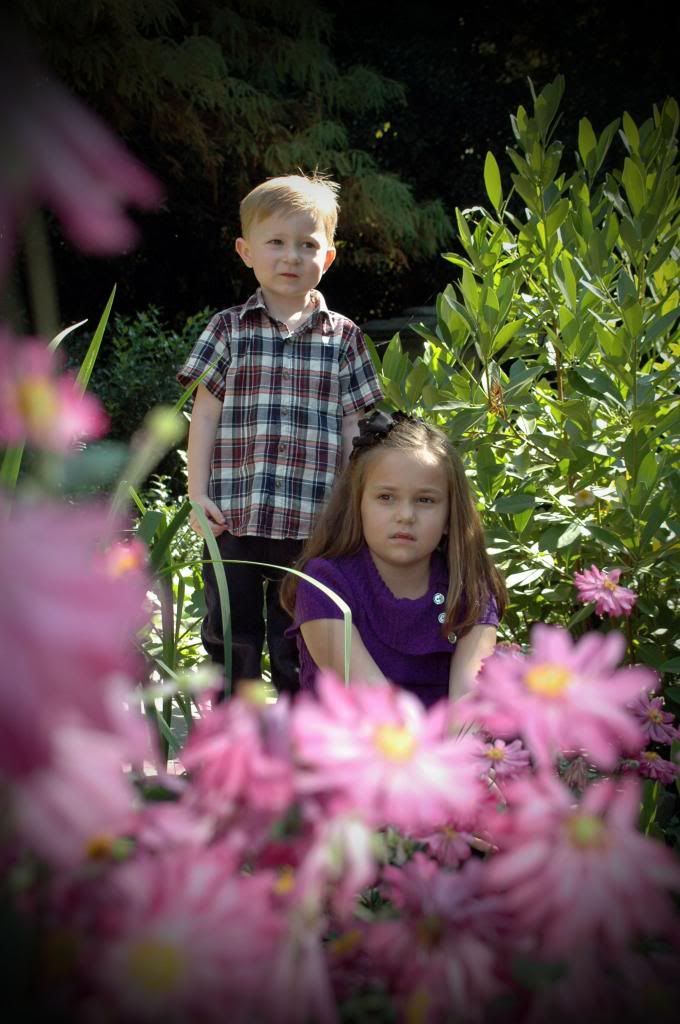
Framing
Will add to your picture.  Shoot through something like leaves to the subject.  Pick a few to do this, not all of them.

 photo KatieandColt_Flwrs_Vign1_zps1532d8ba.jpg 

 Take about 30 pictures using everything I've learned to use.
  1. Aperture
  2. Shutter speed
  3. Front lighting
  4. Back lighting
  5. Side lighting
  6. Reflective lighting
  7. Silhouette
  8. Vertical 
  9. Horizontal
  10. Simple
  11. Perspective
  12. Framing


Sunday, October 27, 2013

Types of Lighting

There are 5 types of lighting:
  • Front Light
  • Side Light
  • Back Light
  • Silhouette
  • Reflective Light 
All light is good.  Every light has a quality.  The smaller the light source, the hard it appears.  

Soft and diffused light - The larger the light source, the softer the light appears.  Including less contrast, which is good for babies and older people.  The morning gives you contrast and shadows.  The evening will be softer.  Light always comes at a direction because every light has the quality and direction, it will have contrast.  

Contrast is harsh light or even all over the photo. It will show up all wrinkles and skin damage.  Not good for older people.  

Best time to take photographs based on the best quality lighting is summer time because it is closest to the earth.  Autumn and winter times are the most harsh lightings.  In the afternoon the sun will be small or small light source and farthest from the earth.  You will see more shadows and the color is different, harsh and golden.  

If you take photos in the Autumn.  The best lighting is early in the morning or late afternoon preferably in the shade.  Direct sunlight will cast a harsh light source, especially in the afternoon.  It's best to use the light source by having your subjects 5 steps into the tree line, in front of the sun.  This way, you will have enough light and they won't have sun grins or harsh lighting interfering with the photo.  You can also turn the subject from side to side, but turn the face towards the light.  

For the best evening shots, in the summer start at 6PM.  As days get shorter, fall back because light gets more harsh.  

Sources of lighting: 
  • Ambient 
  • Daylight
  • Artificial - flash
Side lighting 
Side lighting has shadows on one side, which creates modeling (shape) and detail.  Works well for building or object not people, except for young people because the lighting will be harsh.  It is the most harsh in the late afternoon.  It brings out the roundness and depth.  

 photo DSC_0540_zps618dfca3.jpg

Watch for the triangle lighting on the face.  Using side light but turn face just enough light to make a triangle on the side where the shadow side.  It will model the cheeks and chin.  

You can make photos during overcast or rain clouds up to a point, right before the bottom falls out.  The clouds take the harshness and light is soft and easy.  

Back Lighting 
Use a little of it, but not a lot of light.  Back light will make a halo around the subject, but have something to reflect the light on the face (reflector, sidewalk, etc.)  When you are facing the sun, move over just a hair or you can place hand just over the lens or you will have a glare.  


 photo DSC_0725_zps62971b15.jpg

Remember the meter read will reflect light, it will read the light in the back as well.  Give equal background lighting to your subject.   That is because if your subject were in the shade, but your background is bright, your subject will be dark or black (silhouette).  

Moods of the lighting that it sets - Dusk is dark enough for street lights, but before the sky is black. 

Capturing Light- overcast
Low lighting in contrast - muted shadows, but good details.  

Front Lighting 
Direct sun in a large area.  

Contrast - shadows are soft.  Subject needs to be in the shade.  If the subject is in the direct light it would make their faces look too harsh.  You can have the subject in the harsh light, but don't let them look at the camera because the harsh light would look terrible on their face.  Bright light is great with children because you want the shutter speed to be fast for a child that is busy.  

 photo DSC_0628_zps15816c50.jpg

For family portrait - it is best in the evening.  You must have a large light source and a big enough tree line in order to fit everyone.  If you have a family reunion photo, where you have too many people to fit in the shade, it might be best to have all of them in the direct sunlight.  Make sure to have them close their eyes until you are about to take the picture.  

Reflective Lighting
Reflective lighting is back lighting with a reflective object in the front of the subject.  The reflective object can be something white, a cardboard that is white or wrapped in tin foil, rocks, grass, concrete, water, etc.  It is best to get close to white objects so it will help make a soft and beautiful light source.


 photo DSC_0730_zps59a83b1c.jpg

Silhouette
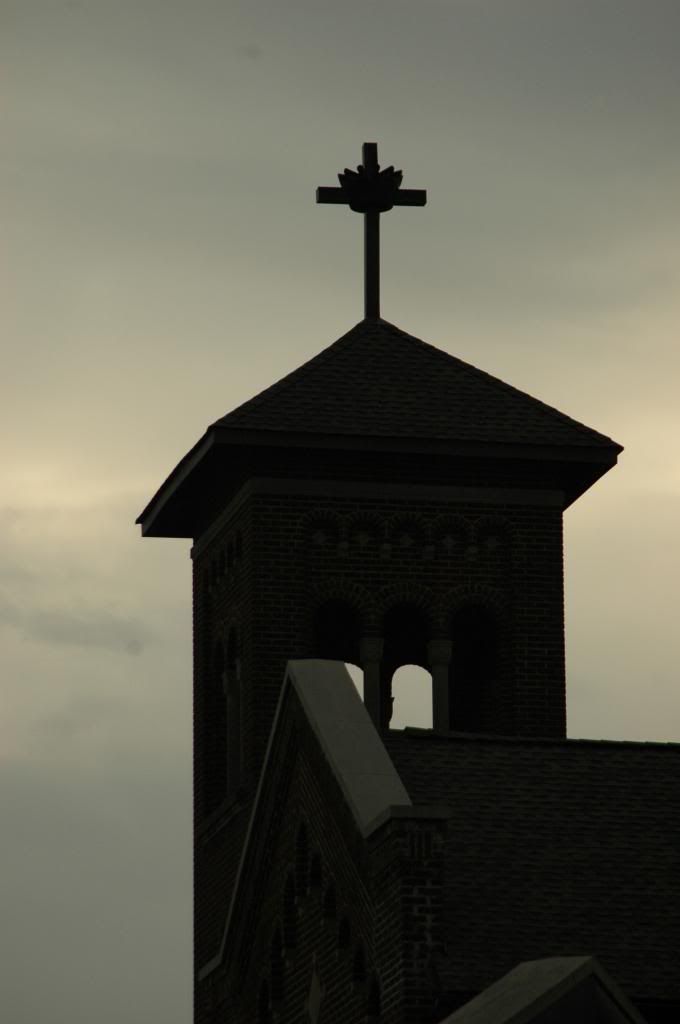
Subject will be completely defined by shape alone.  You must have light on one side only.  When all the light is on one side of the earth.  You will have 2-3 minutes to do this.  Use the manual and adjust the exposure +/- (1-2-3 stops) could help create silhouette. 


 photo DSC_0873_zps271b6f1a.jpg

Flash or Artificial Lighting 
It eliminates harsh shadows or dark lighting.  Might be used especially with family and the background is lighter than the subject.  Flash will over expose, if your too close or flash is bigger than the light source (5-6 ft).  Button on the side of the camera will force the flash, if you are using Manual, Shutter, Aperture or Program.  


 photo DSC_0818_zpsfe17b457.jpg

Note: With a reflector, always meter to read the lighting. 

Key Point Notes to remember: 
  • Shade in late afternoon - ISO 400 and up (start) for portraits and group photo
  • In bright sun - ISO 100-200
  • Dusk - building or night time ISO 800 and work way up. 
  • Keep building in side light for the best detail
  • Group Photo - most source of light and huge tree line. Put group in full (40+ people) before putting in tree line because you will have harsh shadow.  Just have people close their eyes right before the picture is taken. 
Saturday, September 28, 2013

Manual Mode

This past week, we reviewed all the different settings and modes before finally covering Manual.  I completely understand why she selected manual settings to go over last because it is the hardest.  She uses manual only, but for someone who has depended on the other settings most of the time.  It can be challenging.  It can be done, but takes a lot of patience.

Once you select the desired shutter speed and aperture, you depend on your light meter to tell you if you have the right amount light.  She even showed us the +/- icon to adjust your exposure to accomplish your art.  If adjusting the shutter, aperture and exposure doesn't work, be sure to look at the ISO setting.  Remember to use all the ISO you need and no more because it will affect your pixels.

Knowing that manual will be a challenge, I've been practicing this weekend.  To be honest, I did end up with some dark photos.  I would have to take it again and practice getting the lighting just right.  Especially in a house like mine because I don't have enough lighting in order to take photo inside the house.   The manual does work great with moving lighted objects.

This week's homework was a questionnaire that my instructor handed out to the class.  Once we answered the questions, she requested that we take pictures of our answers.  No pressure!  On top of our 5 questions, we have to hand in 5 additional photos.  Just random photos, nothing special.  Below is the answers to my questions and my 5 additional photos.  Enjoy!

1. If you could have any kind of "life's work", what would it be?

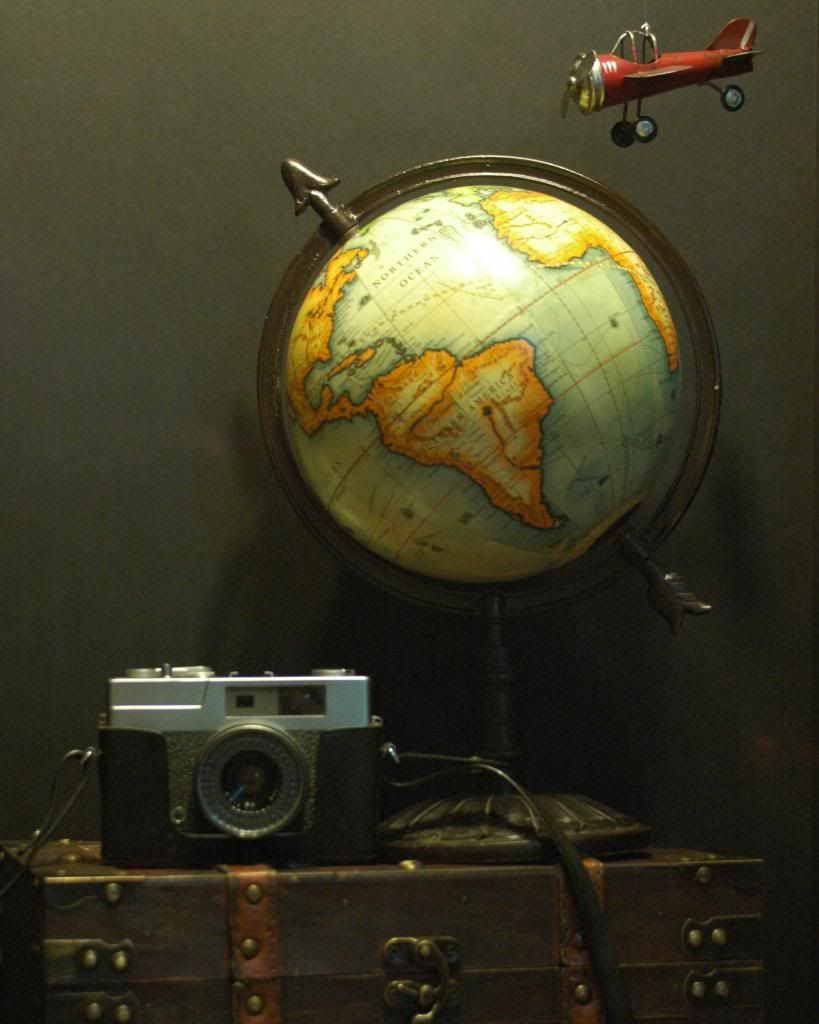
   photo TravelAroundtheWorld_zps60f094aa.jpg 
In manual mode

I would like to travel around the world and taking photographs of different cultures, landscapes and God's beauty.

2. If you could live "anywhere" . . . where would you go?

   photo DSC_0507_zps1ec5765b.jpg 
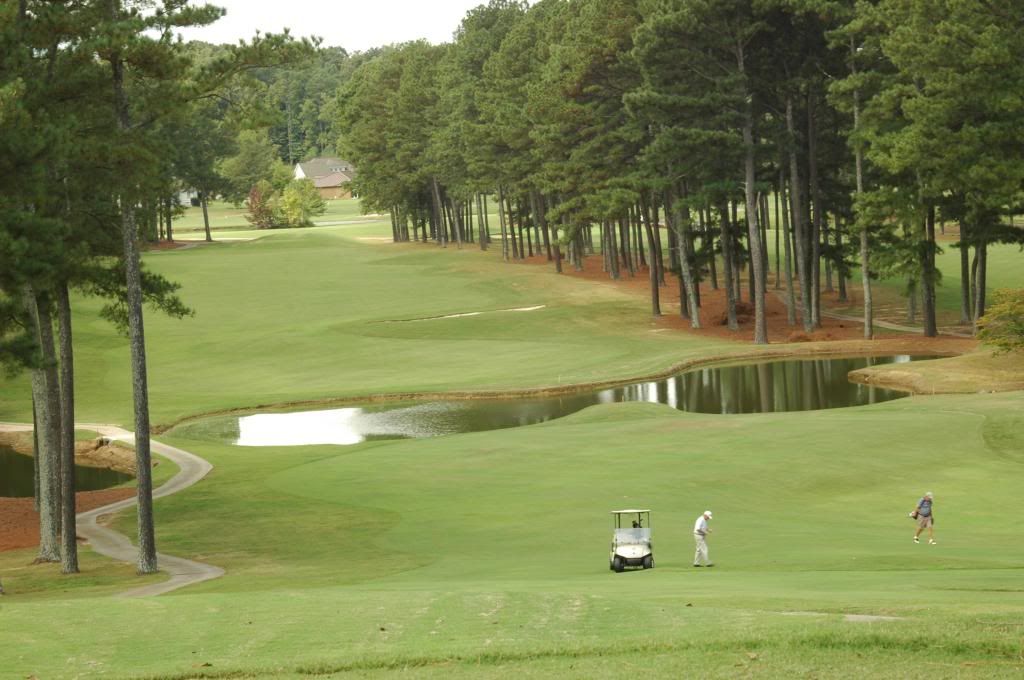
Shutter speed mode

I would live on a golf course

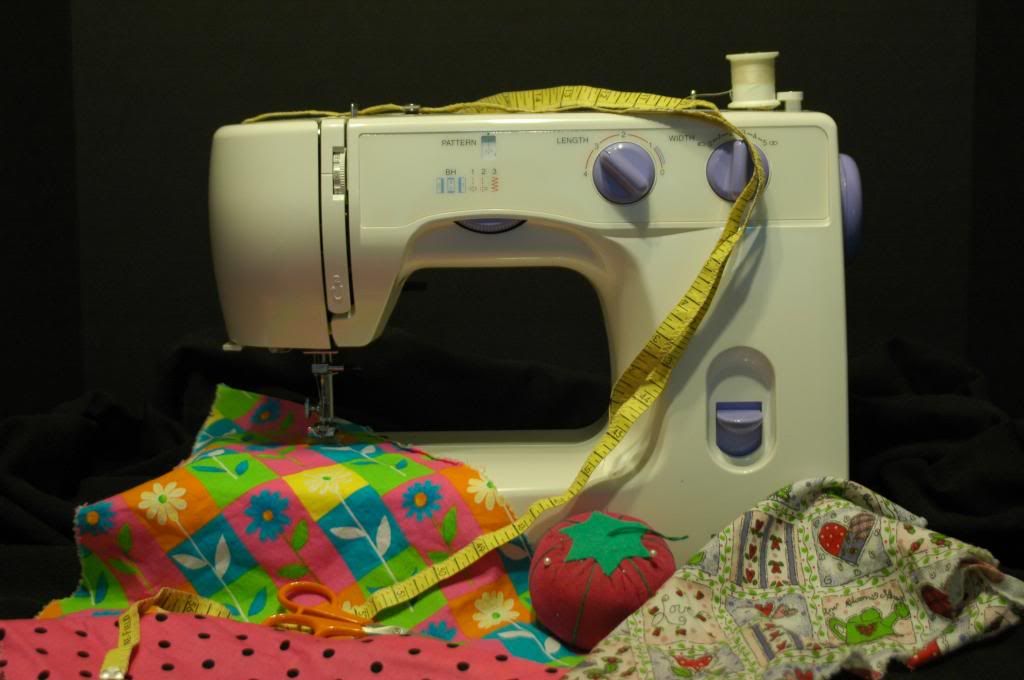
3. If you could take up a hobby, what would you do?

   photo DSC_0510_zps95352130.jpg
Manual Mode

I would take up sewing.  I use to know how to sew, but it's been since high school.  Right now, I'm doing it the old fashion way . . . by hand.  

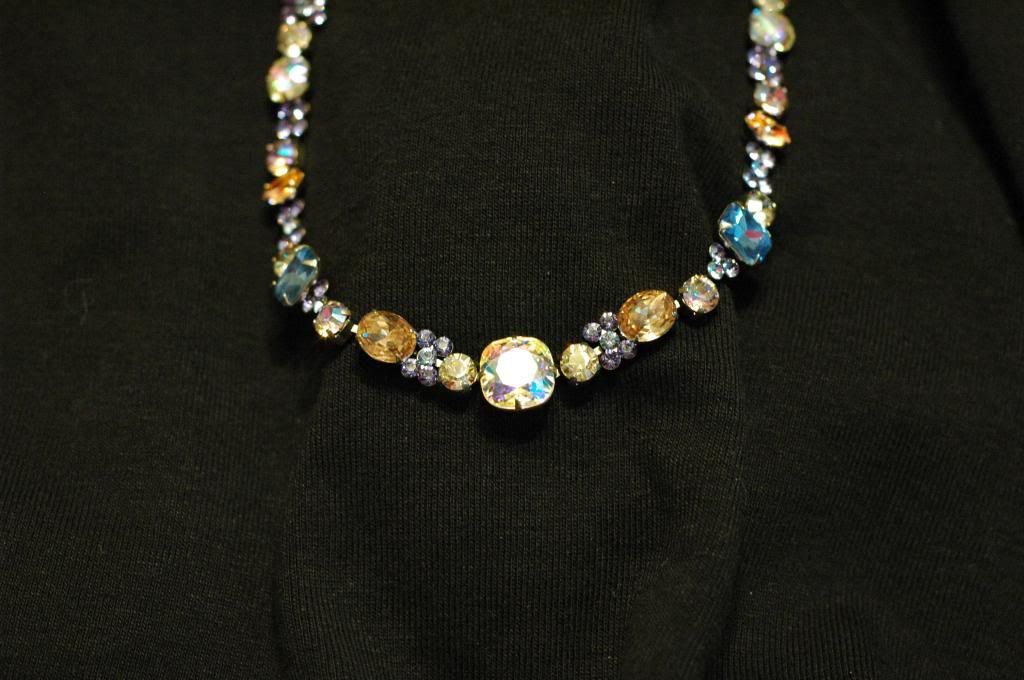
4. If you could "own" one thing of enormous wealth what would it be?

   photo DSC_0477_zps70624cc5.jpg
Manual Mode

I would like to own gems 

5. Name one thing that you are proud to leave behind.

   photo DSC_0540_zps618dfca3.jpg
Aperture Mode

My children 

My additional 5 photos: 

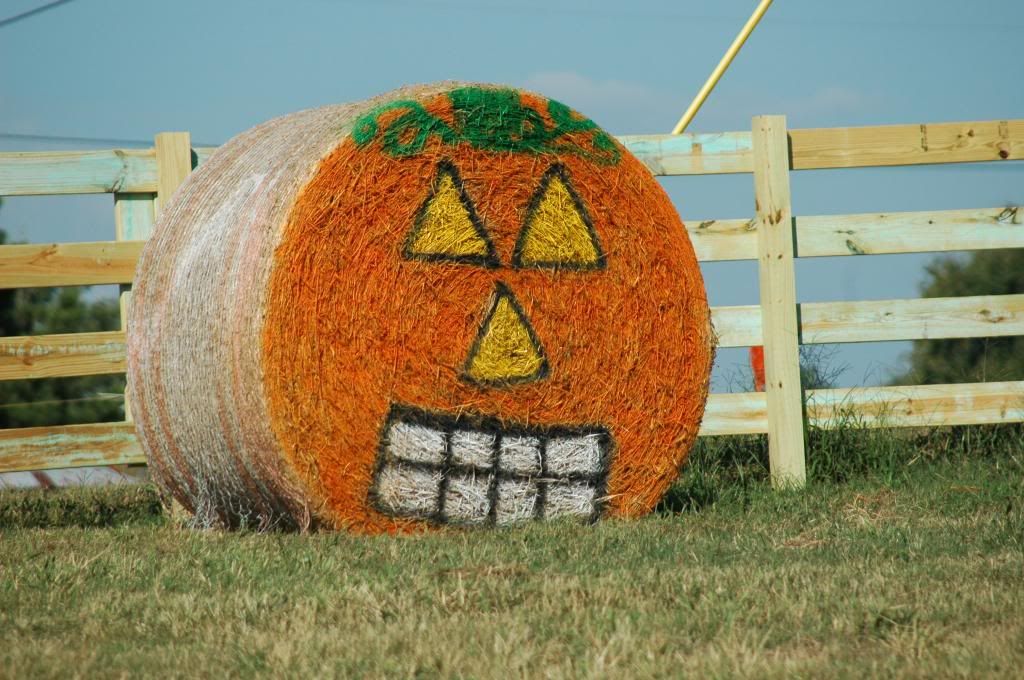
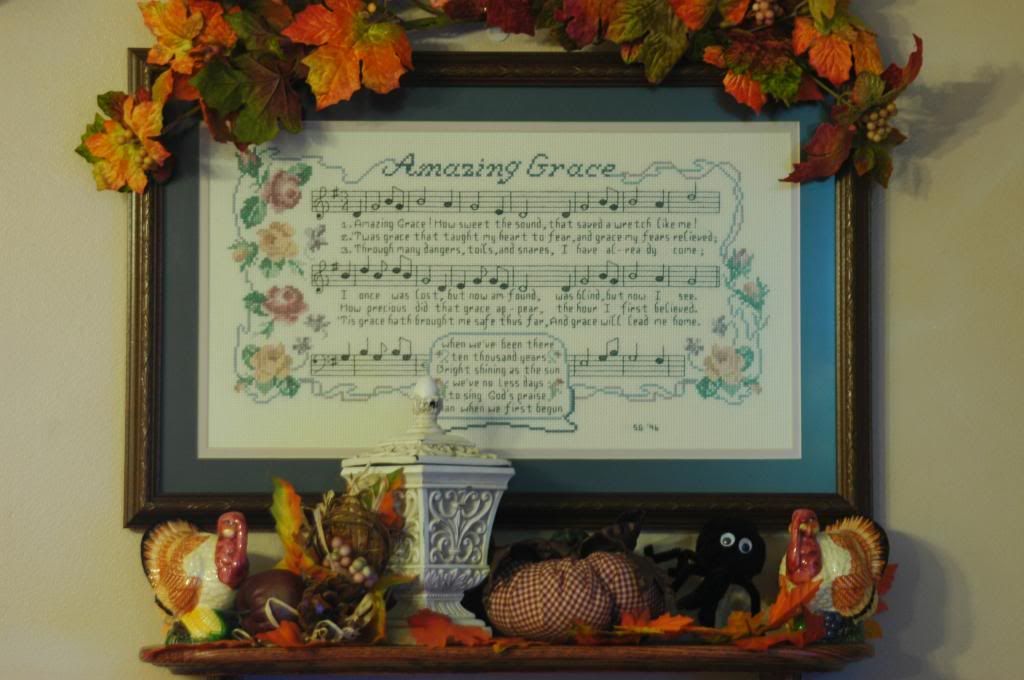
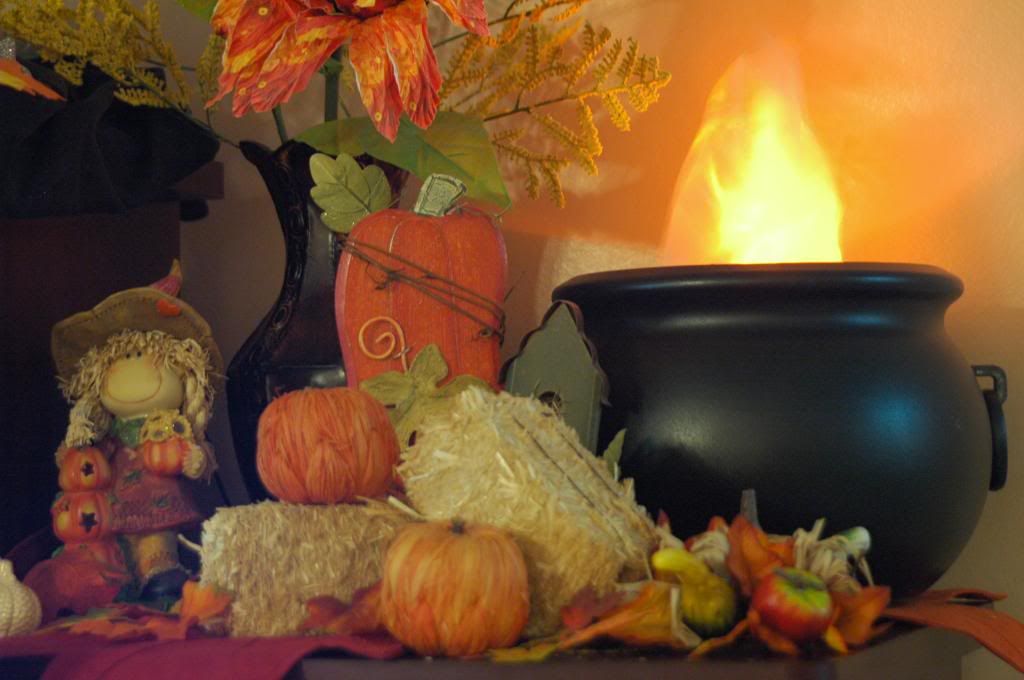
I've been slowly decorating for autumn. The first two photographs, I took manually. I so proud of myself. I have to confess that it took probably 2-4 photos before I found the best lighting. LOL!
   photo DSC_0526_zps8bb5cf3b.jpg photo DSC_0516_zps875c847b.jpg 
Manual Mode

In this picture, I have a working witch's cauldron. Actually it's lights shining on wind blowing on white material. LOL! I love the lighting. Now that Halloween is quickly approaching, I will be taking a lot more evening photos. I love the lights.

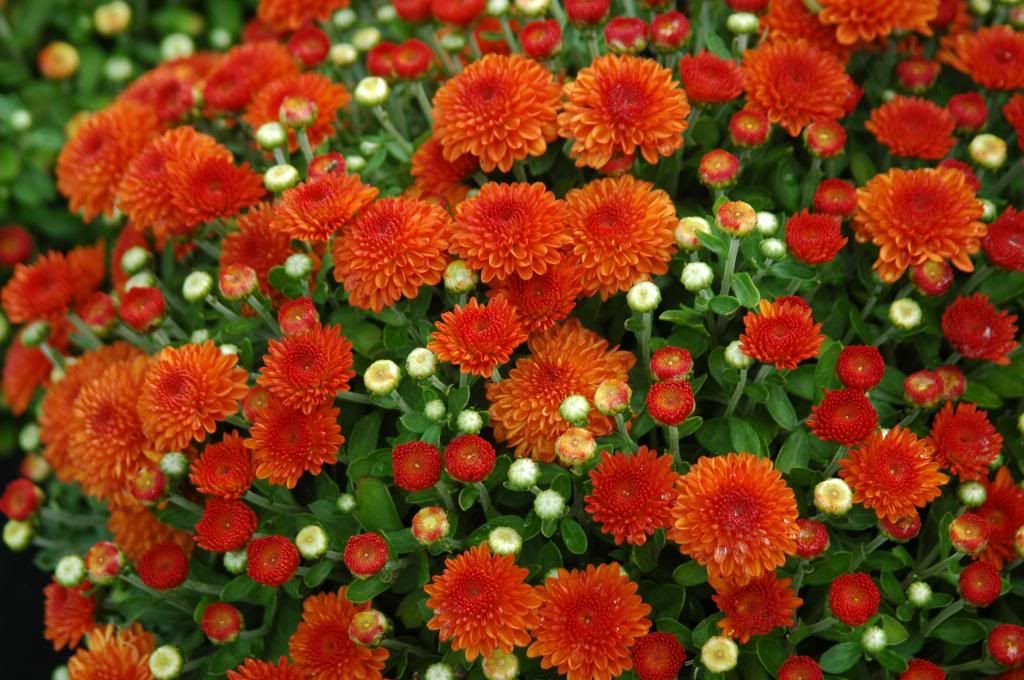
   photo DSC_0490_zpse03d32b5.jpg
Aperture Mode
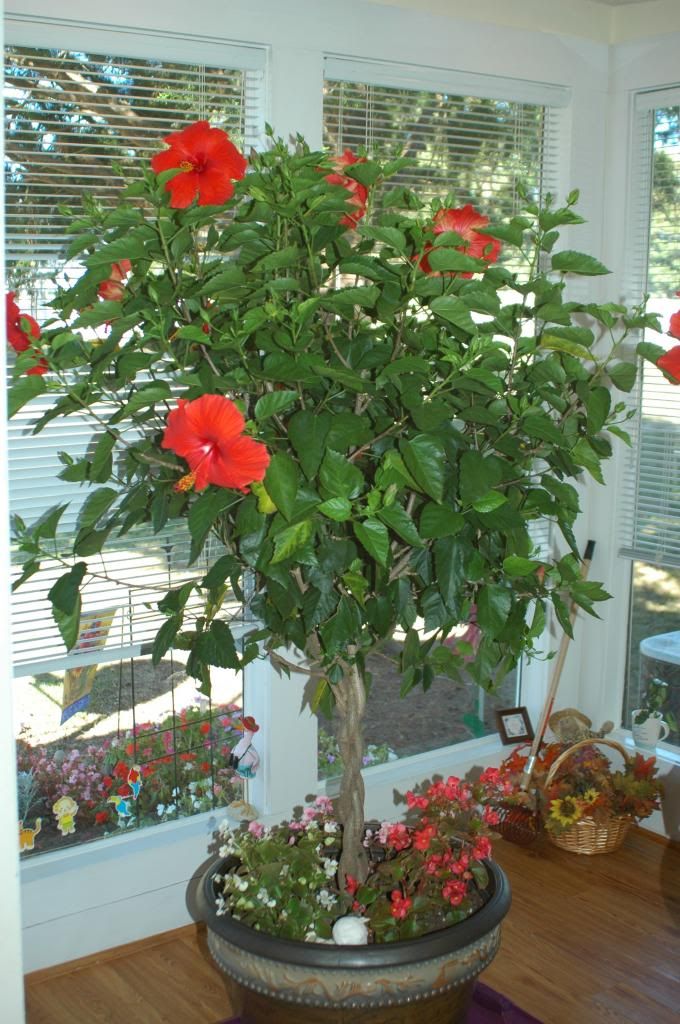
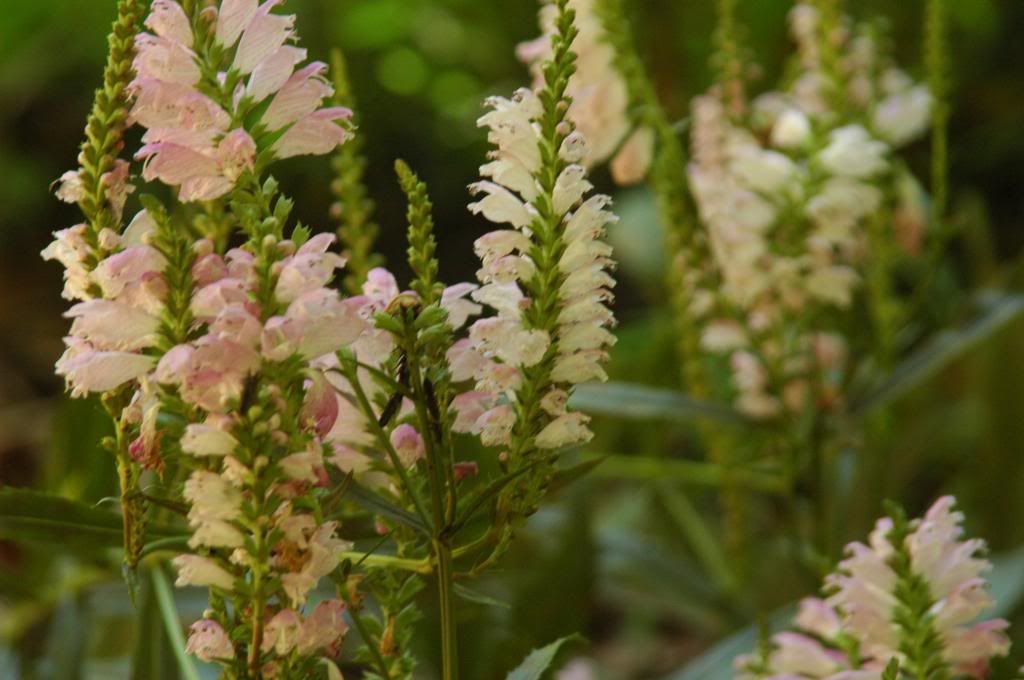
Beautiful autumn flowers

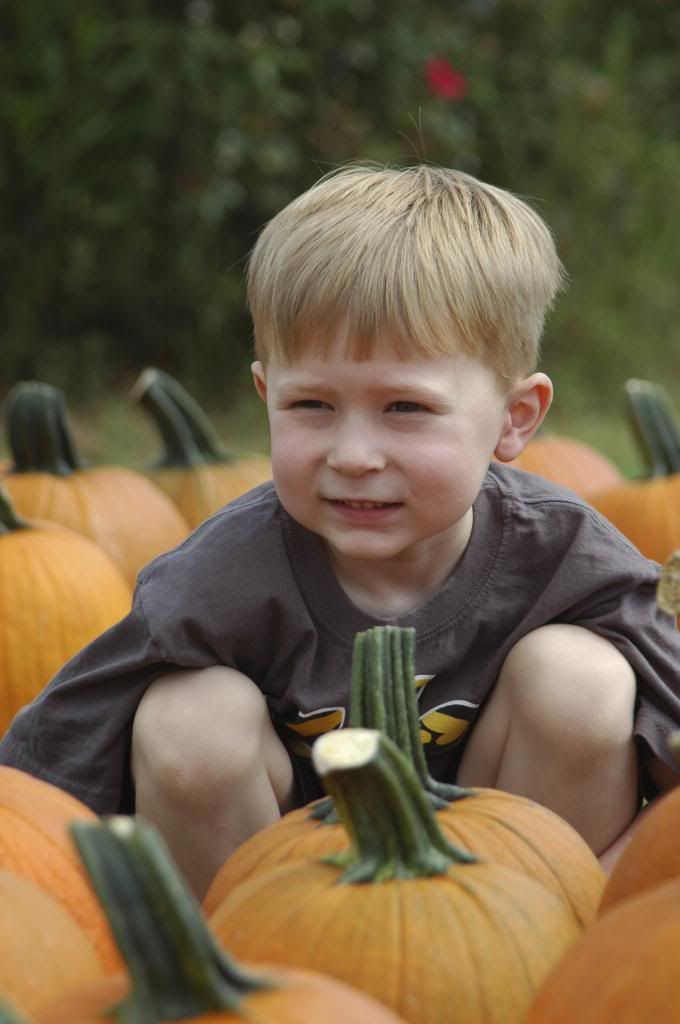
   photo DSC_0488_zpsa66e0c54.jpg
Aperture Mode 
My lil' pumpkin! 

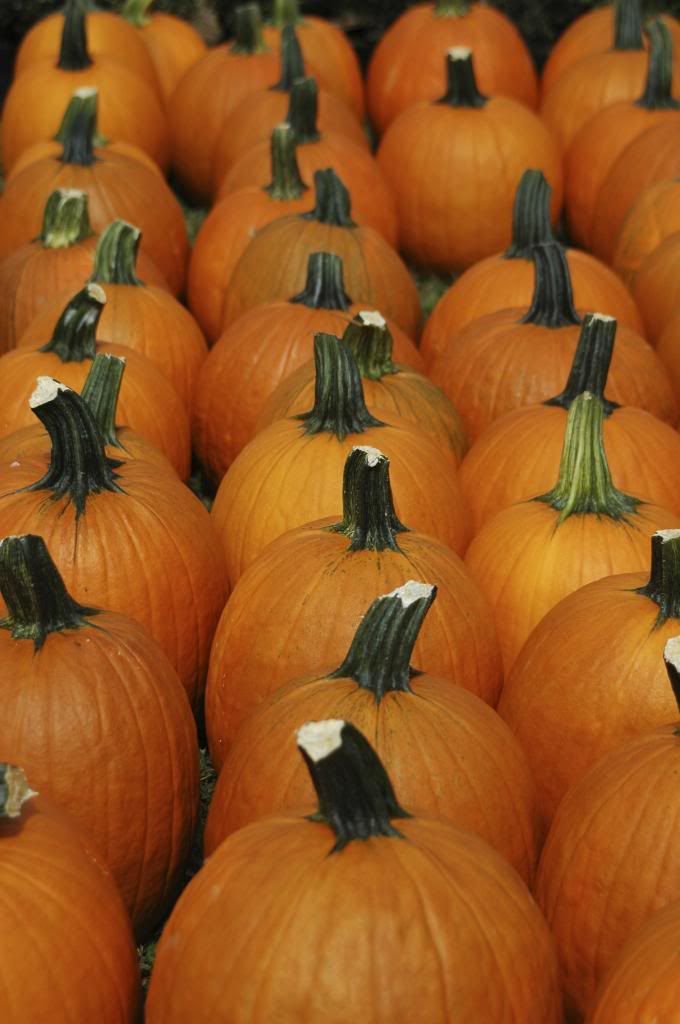
   photo DSC_0484_zps780b2839.jpg 
Aperture Mode
 Autumn Harvest Time

Thursday, September 19, 2013

Written Word

This week, we finished going over shutter speeds and aperture settings.  The light meter decides what number (shutter speed and aperture) is needed to take the picture.  If you hear the beeping, it is your light meter adjusting based on the amount of light reflected back.
Aperture - In order to allow more blur you must use a longer lens.  Aperture settings are great to the blurred background and a little in the foreground.  This is what you'll need to make portrait pictures.

ISO (International Standard Organization) controls the speed of the light, the higher the number the more sensitive.  The lower the number, the less sensitive.  Set ISO high for low light situations.  High ISO used for dark (weddings or dark outside).  Low ISO used for beach scenes at noon because there is too much light.  The higher the ISO number, the more grain will show especially in dark.  Take all the ISO you need, but not one stop more (between 200-400 normally).  The less ISO, the less grain in your photos.

Note

  • Open sky (full sun) - 100-200
  • Open shade - 400
  • Need help with low light set ISO at a high number
Mode Dial  - (Creative and Image Zones)
Image Zone  - Portrait Mode - When taking a portrait, blur the background.  You want to focus the subject.  Warning it affects the light especially if your on the beach must have low light (lowest F/stop and high shutter speed). 

Landscape - When doing a scene camera will not blur - it will be sharp.  Will set high F/stop and shutter speed.  

Macro/Close-up Mode - 2 or 3 feet - coming in close and will blur some, but will sharp as well.  

Sports Mode - Motion setting highest shutter speed.  For instance, a child running or fast car driving by.  It doesn't mean that it can only be a sport.  

Night Portrait - Theresa recommends using at night or in dark lighting.  The flash pops up and brightens the subject, but shutter speed will drag out to grab the surrounding lighting.  Is great inside a church with stain glass windows.  Also great for the sunset portrait or street lights.  You can use this setting as an action as well.  The flash will fire at 125 shutter speed.  The flash is only good for 5 feet.  The flash will light the subject, but also lights up the lighted movement in the background.  For instance, have someone pose in front of street lights with cars moving in the background.  Theresa wants me to try this next time.  

Moon shot - try to set camera: F/5.6  1/320   ISO-100

Panning
A lot of moving objects - camera to eye and follow and continue mashing the button half way and when subject is in front, mash button right in front and continue mashing half way as the subject goes by.  

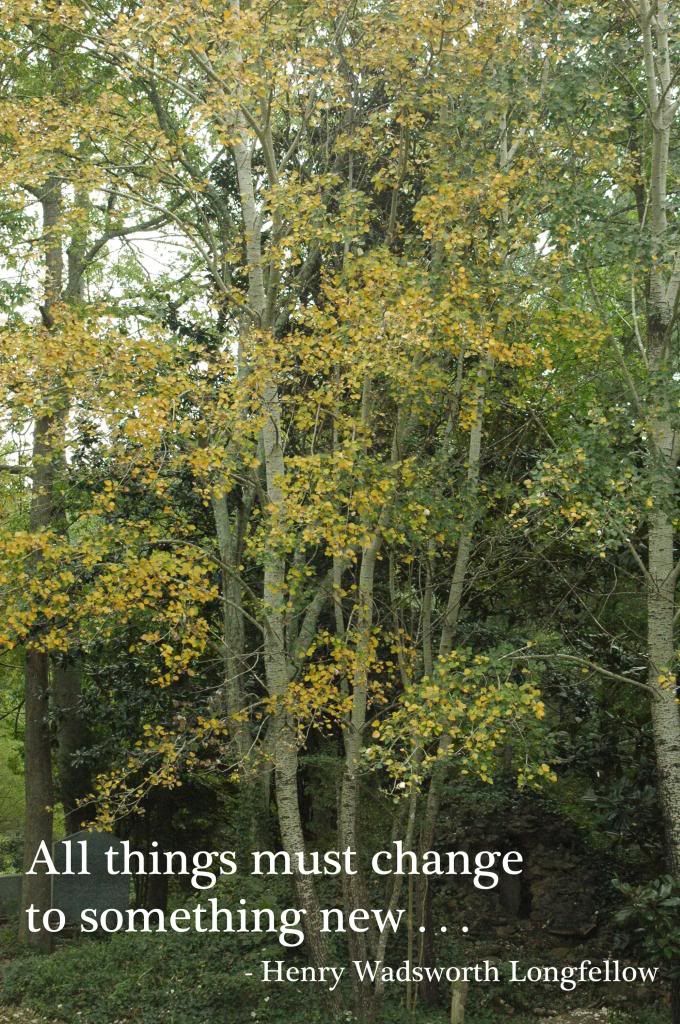
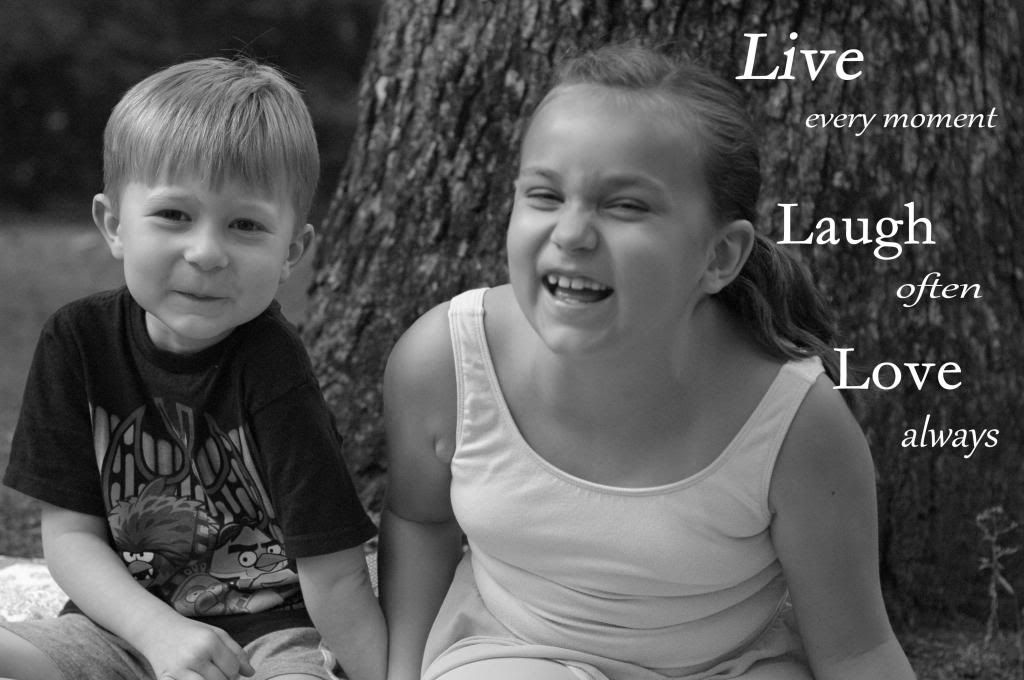
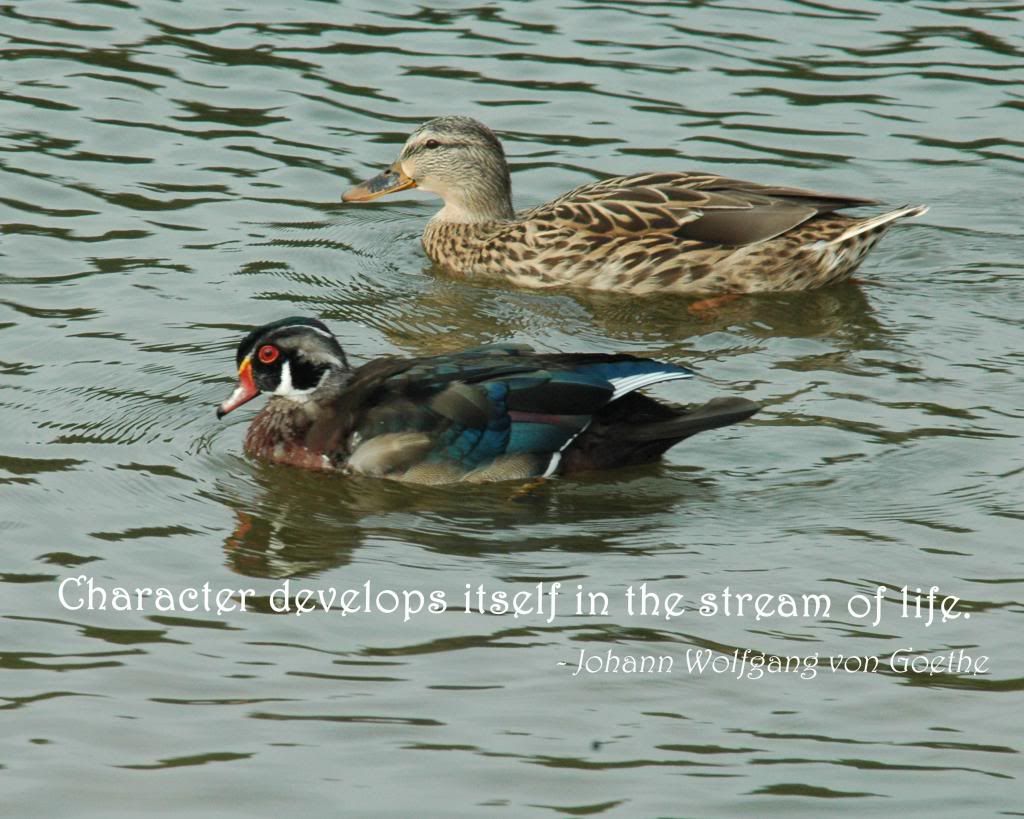
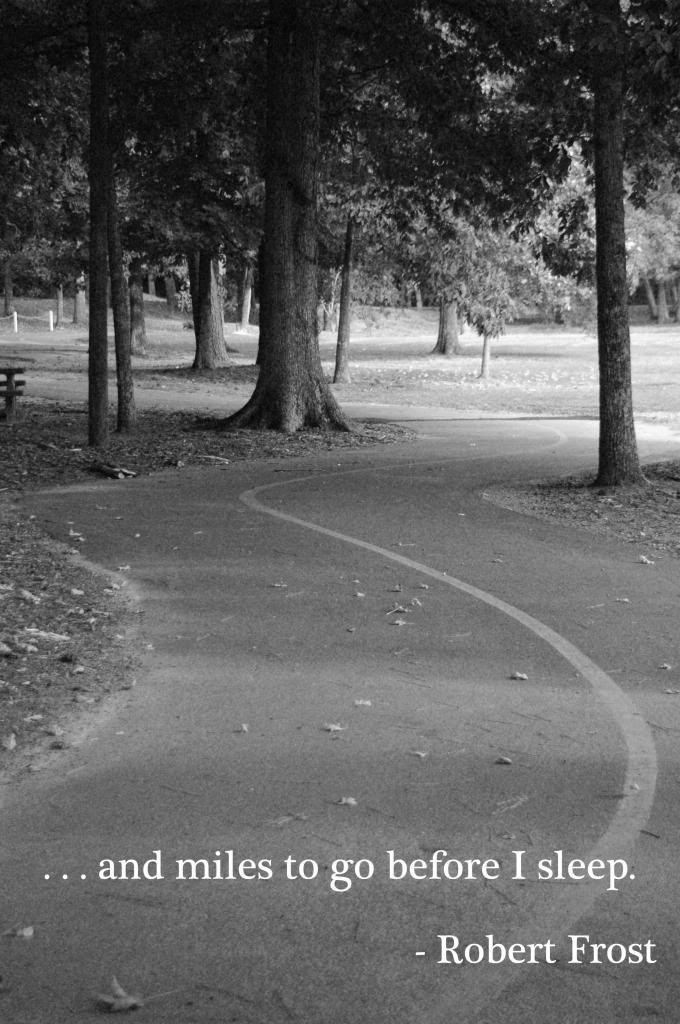
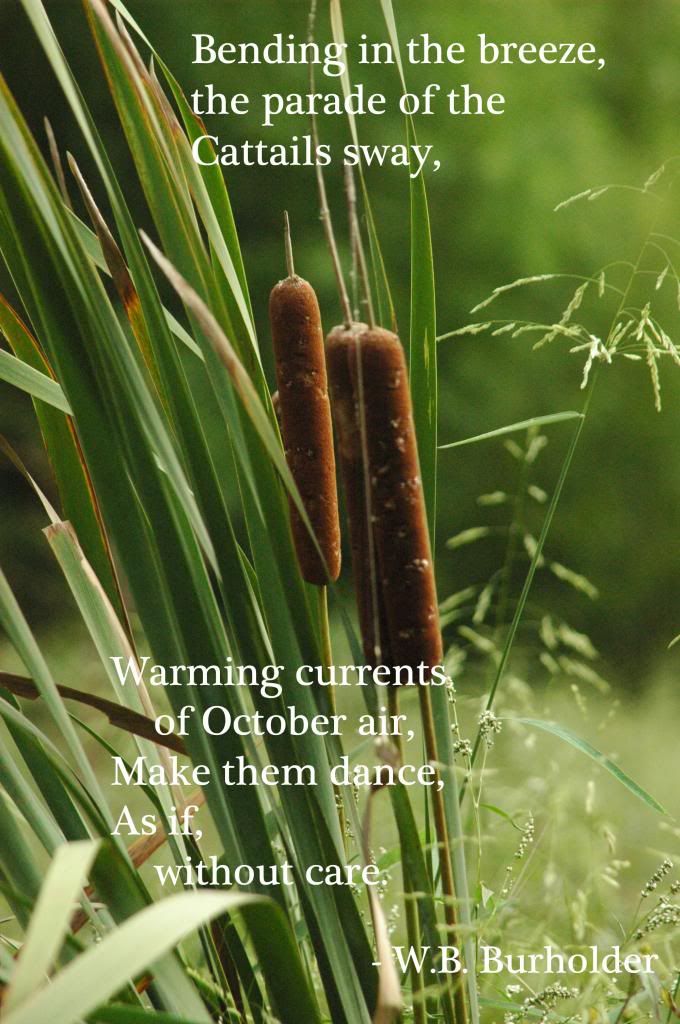
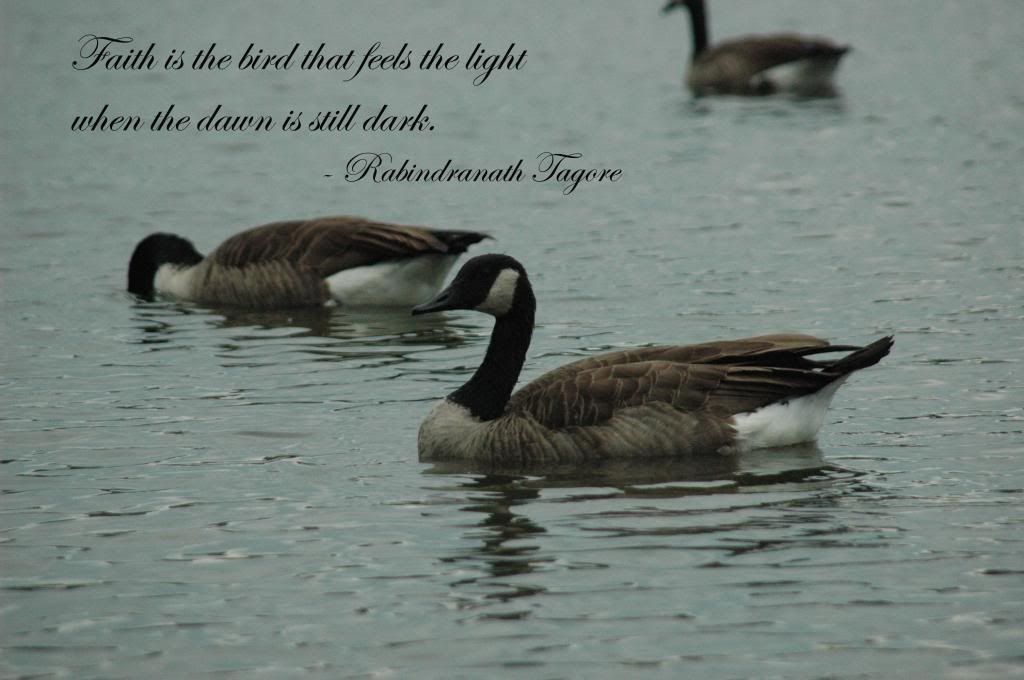
My homework this week is to create photos with verses, quotes or poems that I feel go along together.  Below are a few I did: 
 photo Autumn_zps408448de.jpg

 photo Laughter_zpsd9274233.jpg

 photo Woodduck1_zpsa9662f98.jpg

 photo Miletogo_zpsb4f459c4.jpg  photo BendingCattails_zpse361582f.jpg

 photo Faithis_zps6a738881.jpg

Next week, we are suppose to work with manual.  Theresa said from next week and on out, our classes will be a little more challenging.  

Saturday, September 14, 2013

Life In Motion

This week, we went over shutter speeds and aperture settings.  I am loving my classes and learning so much.  I am anticipating new techniques Ms. Theresa will reveal to us the next class session.

To Remember: the higher the shutter speed setting, the subject will be stopped.  The lower the setting, more the subject is in motion and the photo will be blurred.  You must decide what you want to show the audience before you even press the button.  Do you want the action in motion or stopped?

The lower the aperture setting, the fore/background will be blurred.  The higher the setting, the sharper the fore/background.

Shutter speed and aperture work together to give you the best photo.  If your aperture setting is low, you must need a high set shutter speed.  The aperture hole will be small thus, allowing less light.  If you force the shutter speed too low, you might end up with a very dark photo and vice versa.  I've noticed with my Nikon D70, if I want a low shutter speed the aperture or F/stop will show Lo/Hi instead of the number.  This tells me there is either too much light pouring in or not enough.  Listen to your camera!  I deliberately took some pictures that the aperture was too low or too high and sure enough the picture was either over exposed or under.  I love my camera and I know it is wanting to help make the best picture as possible, but like Ms. Theresa said, it can want to help you out a little too much and that is why we don't want to go around the world taking pictures with the automatic button set.  LOL!

I am an artist!   If you see me with my camera and tripod in hand, be at ease that I'm working on my art.  :)

 photo DSC_0155_zpsb029f133.jpg
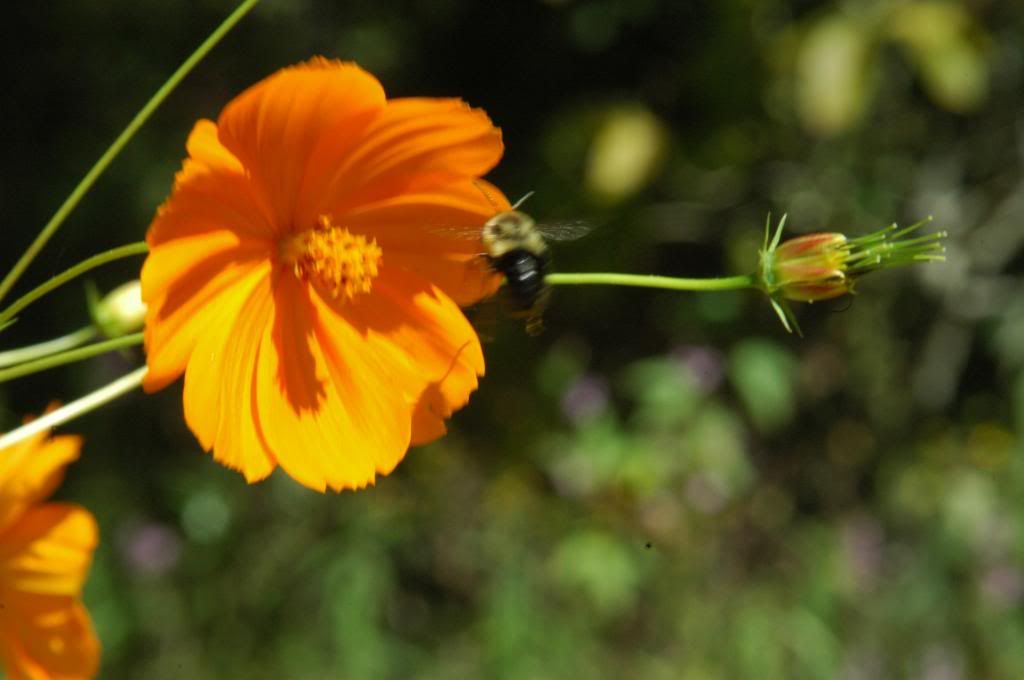
It's hard taking a picture of a bumble bee!  It took me a long time and loads of patience to capture this bee buzzing from flower to flower.  Bees just won't stay on a flower long enough to get all of your settings and focus ready.  The bee was just moving from this flower to another, when I took the picture.  You'll notice that the flower has a slight blur and that's because the big bee moved it.  


 photo DSC_0153_zpsee365db4.jpg
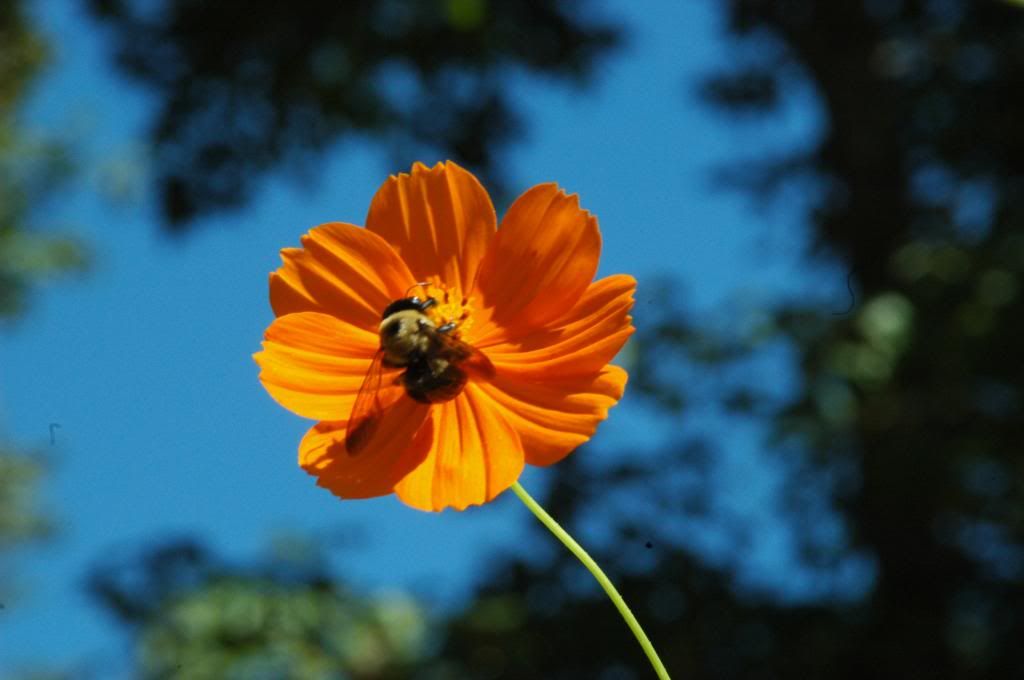
I actually took this picture looking up.  I love how the beautiful blue Alabama sky was in the background, giving this shot lots of vibrant color.  


 photo DSC_0152_zpse5969684.jpg
This picture was actually an accident.  I was trying to catch a bumble bee buzzing around the flowers.  I didn't get the bee in the shot because he flew off so fast, but I love the warm sun's light reflecting off of this flower.  


 photo DSC_0143_zps8152f696.jpg
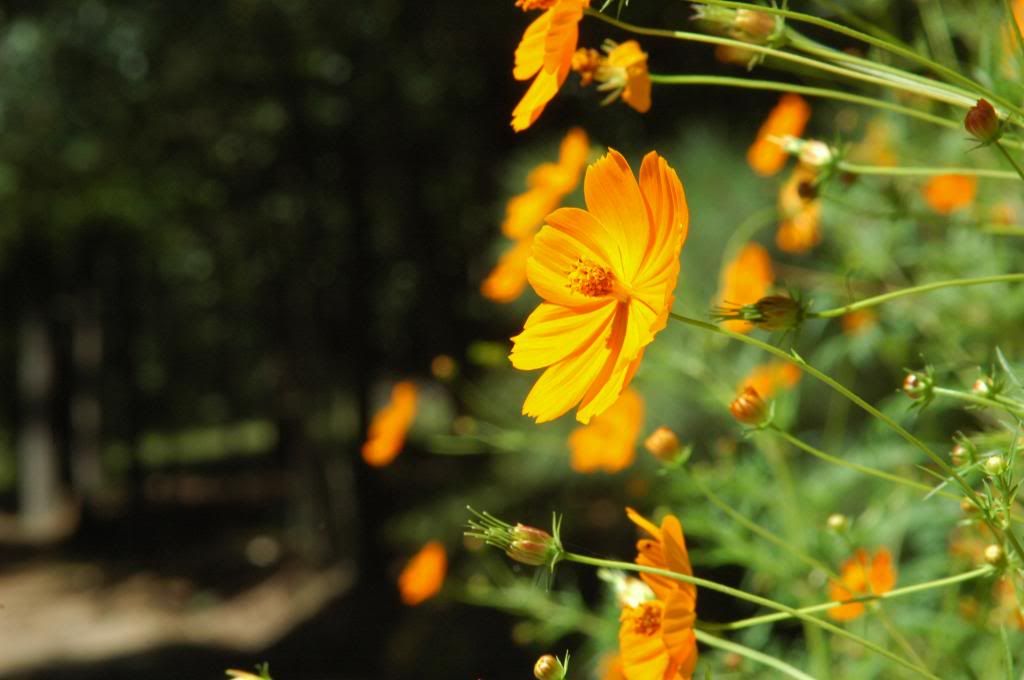
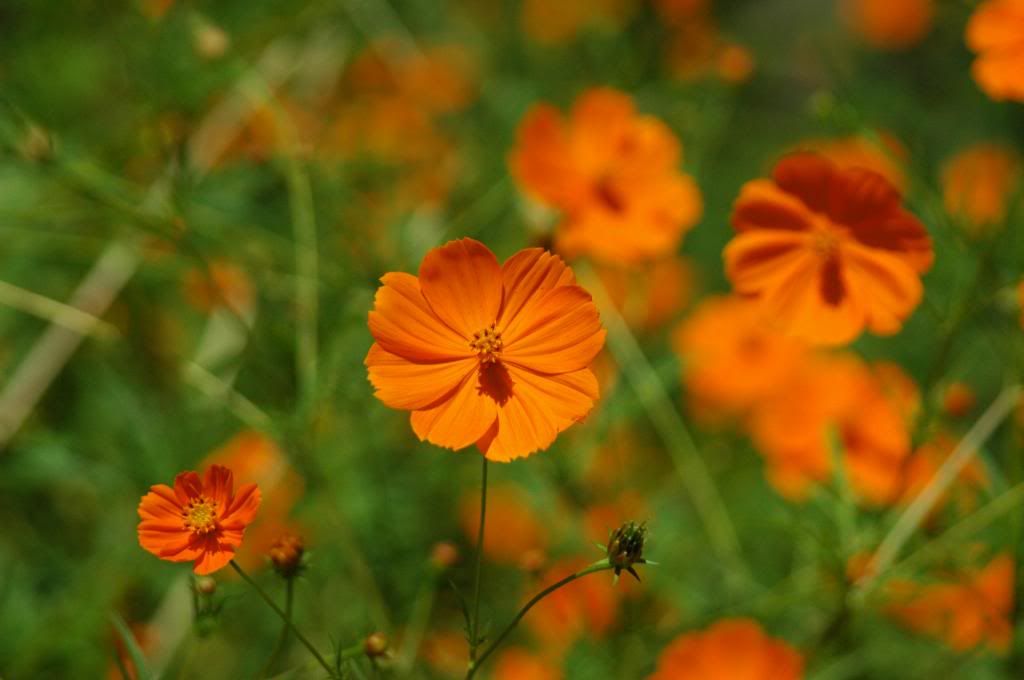
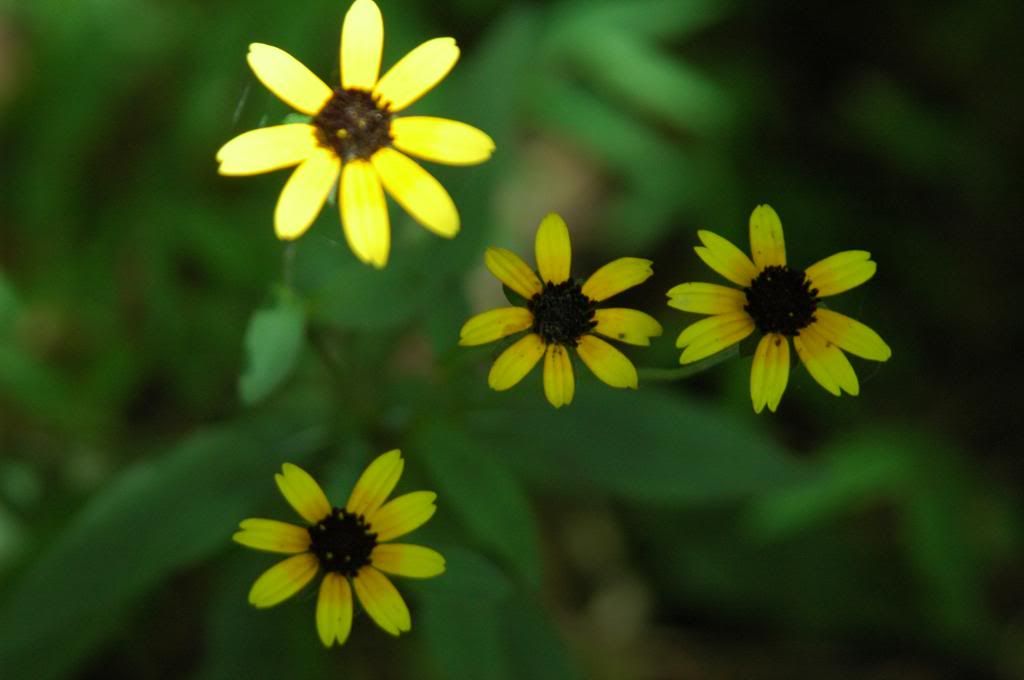
This is an aperture or F/stop photo that I took of these beautiful flowers.  Notice the blur in the background. Just beautiful! 


 photo DSC_0142_zps8ba889b6.jpg
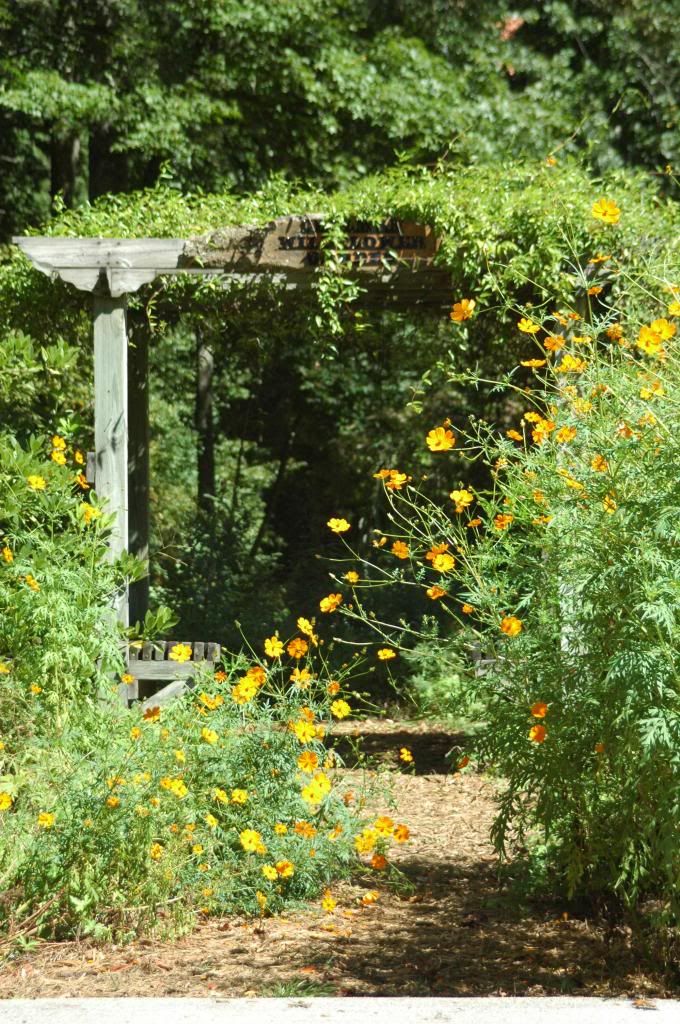
Pathway under an arbor into the park's wildflower garden


 photo DSC_0140_zps8d8db25c.jpg
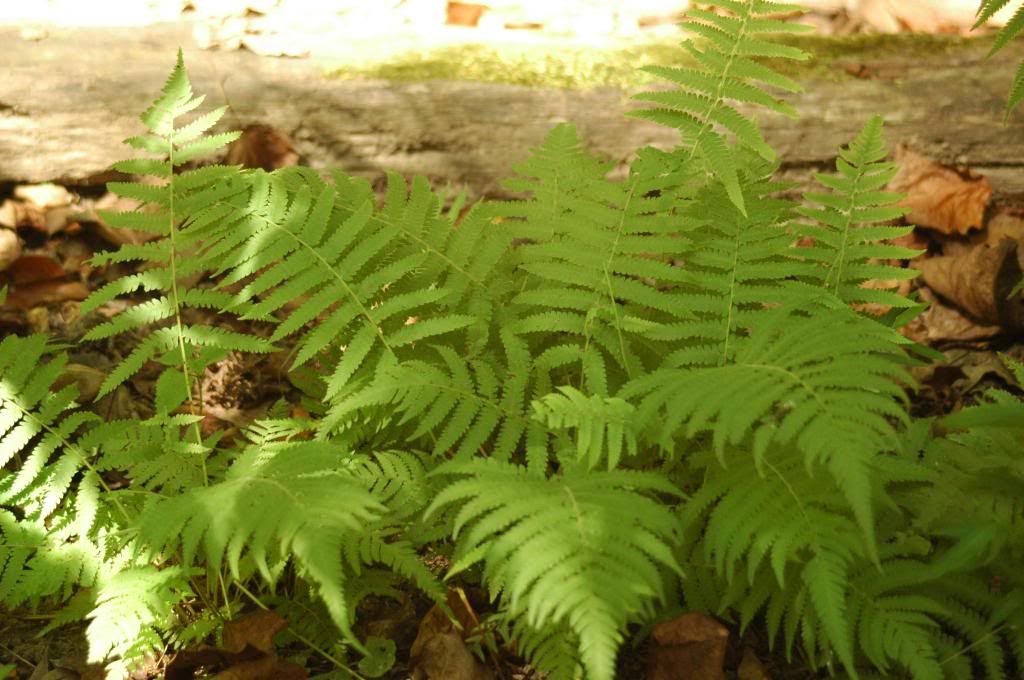
Cheerful light green baby fern springing up in the forest along the garden pathway.  I wanted to show you the vibrant green color by using the white balance.  So pretty!

 photo DSC_0139_zps87e80810.jpg
I love how this picture came out.  Again, I used white balance setting in order to bring these flowers to life.

 photo DSC_0138_zps5840c7d1.jpg
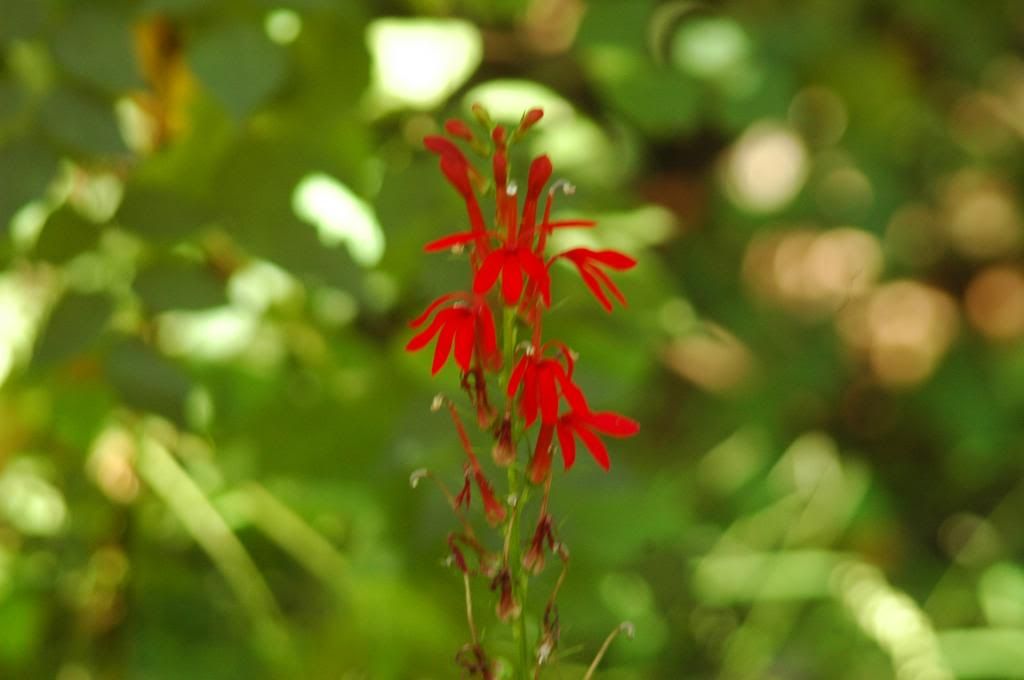
I spotted this brilliant red flower in the forest by a creek bank.

 photo DSC_0131_zpsab09eb78.jpg
Reminds me that Autumn is right around the corner

 photo DSC_0128_zps68d23642.jpg 
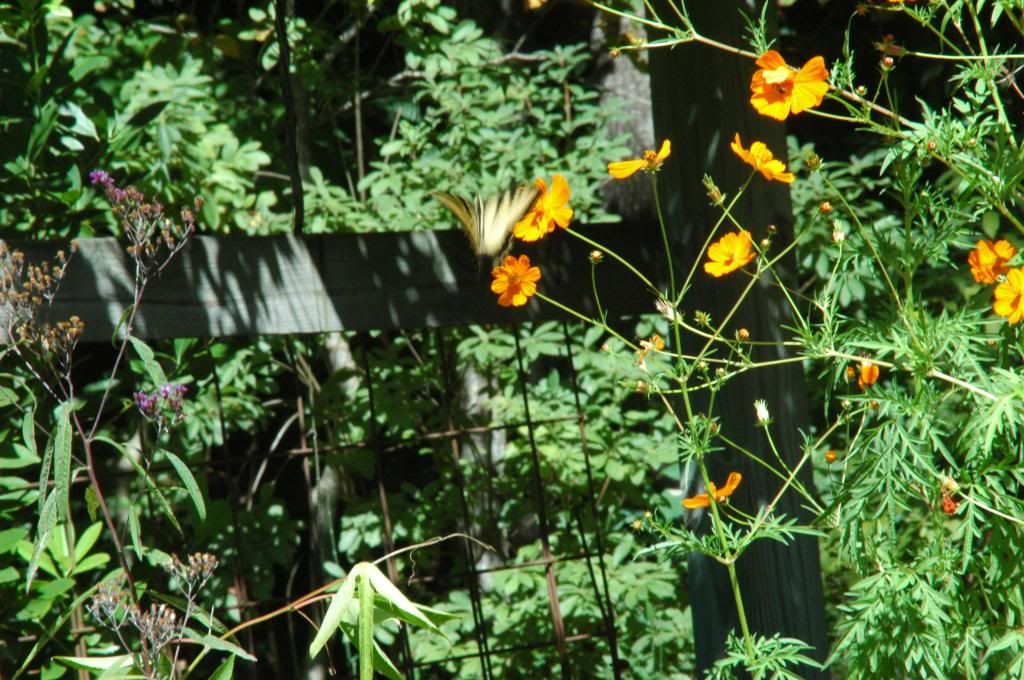
Butterfly flitting around enjoying a cool autumn day

 photo DSC_0125_zpsf3a06366.jpg
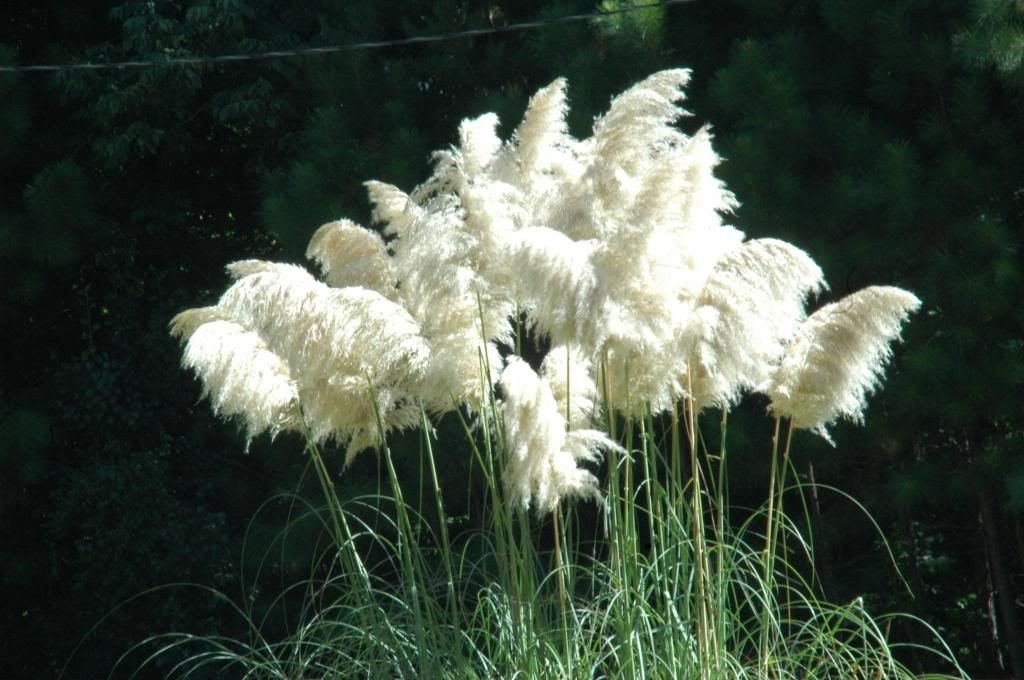
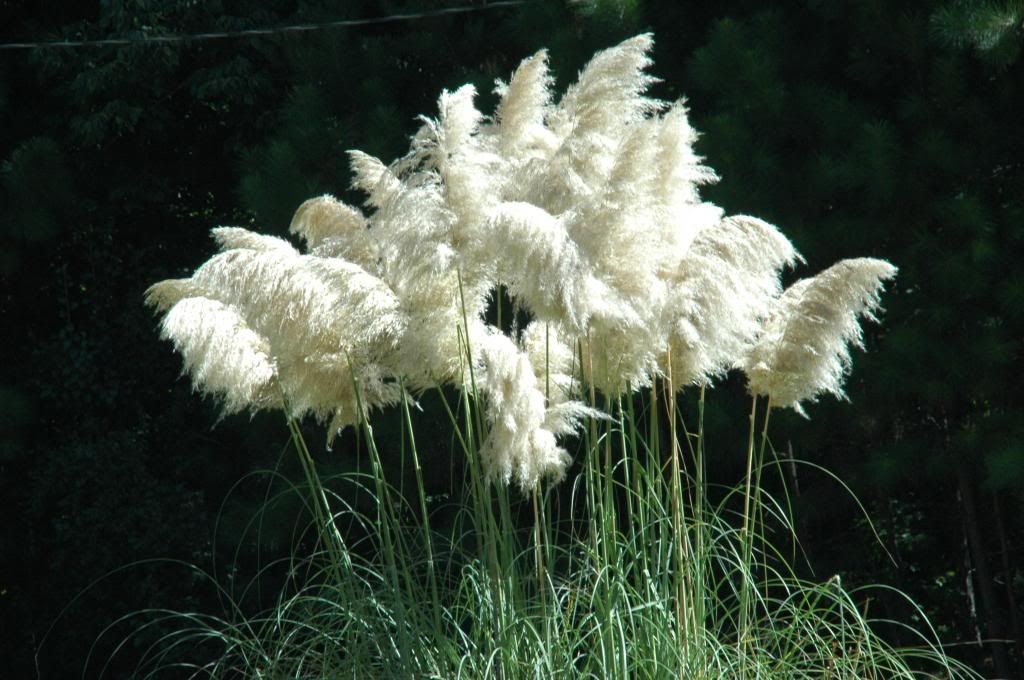
Took advantage of a slight wind, moving this grass.  Notice the slight blur, the plumes look more like feathers.  Allowing more light. It was hard to capture the movement in this picture because it was so bright outside, I couldn't set my speed too low.  

 photo DSC_0123_zps50626aa3.jpg
Shutter speed is a little faster than the photo above.  Notice this picture is a little sharper than above.  

 photo DSC_0110_zps0c5ee25c.jpg
An example of pushing your aperture settings when making your shutter speed real slow.  Shutter speed at 20 and F/25, allowing too much light and causing over exposed photo. 

 photo DSC_0105_zpsf763c4ee.jpg
Shutter speed isn't set on 30 because it would cause too much light, but it's just enough light and still have the slight blur of motion.  I think this turned out good.  

 photo DSC_0103_zpsc1c3abaa.jpg  photo DSC_0098_zpse9807e94.jpg
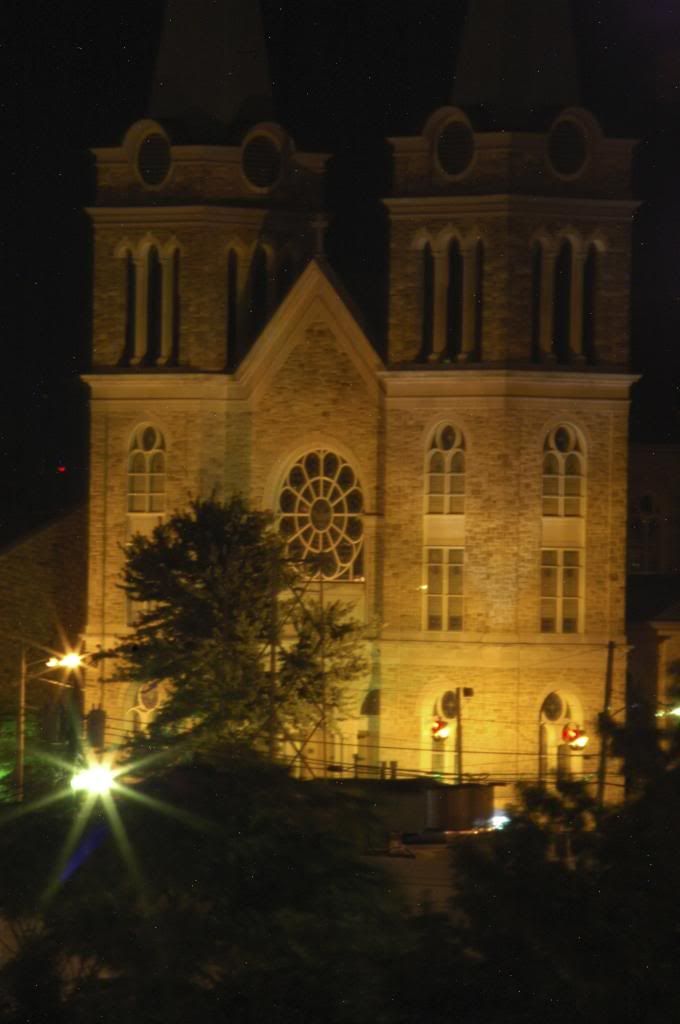
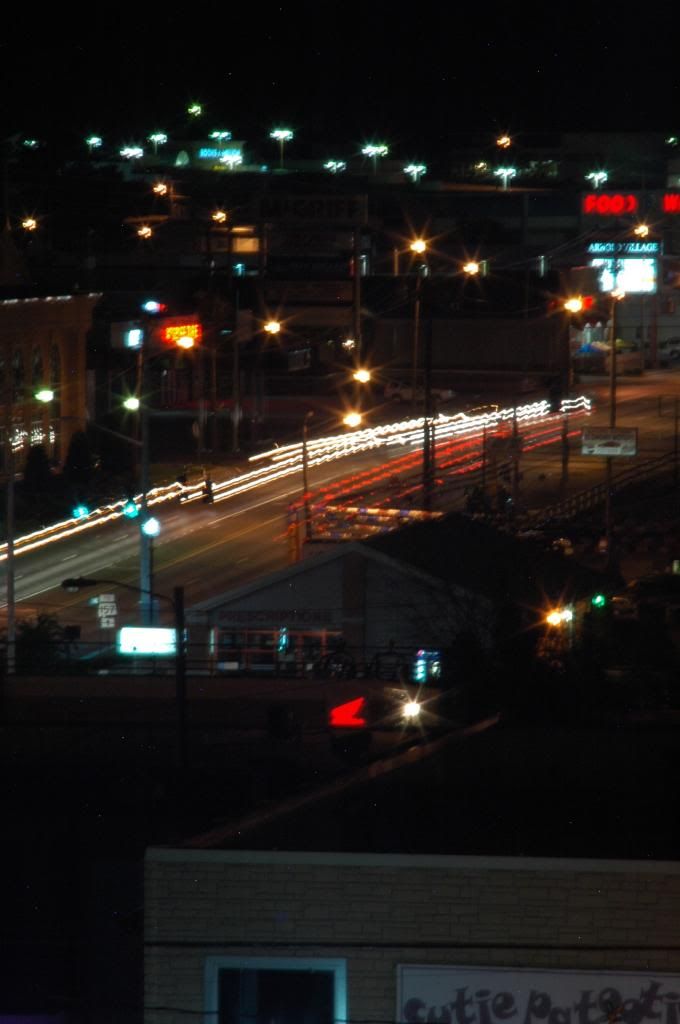
These two pictures would have to be one of my favorite motion pictures.  On the left: night time lite church.  I used the long exposure setting for this picture.  I love the sparkle from the street lights.  On the right: city scape of my downtown.  I think it turned out very good because you see the movement from the cars, coming and going.  The street lights and signs are still.  A couple street lights even have a little sparkle.  

 photo DSC_0076_zps1f16ca67.jpg
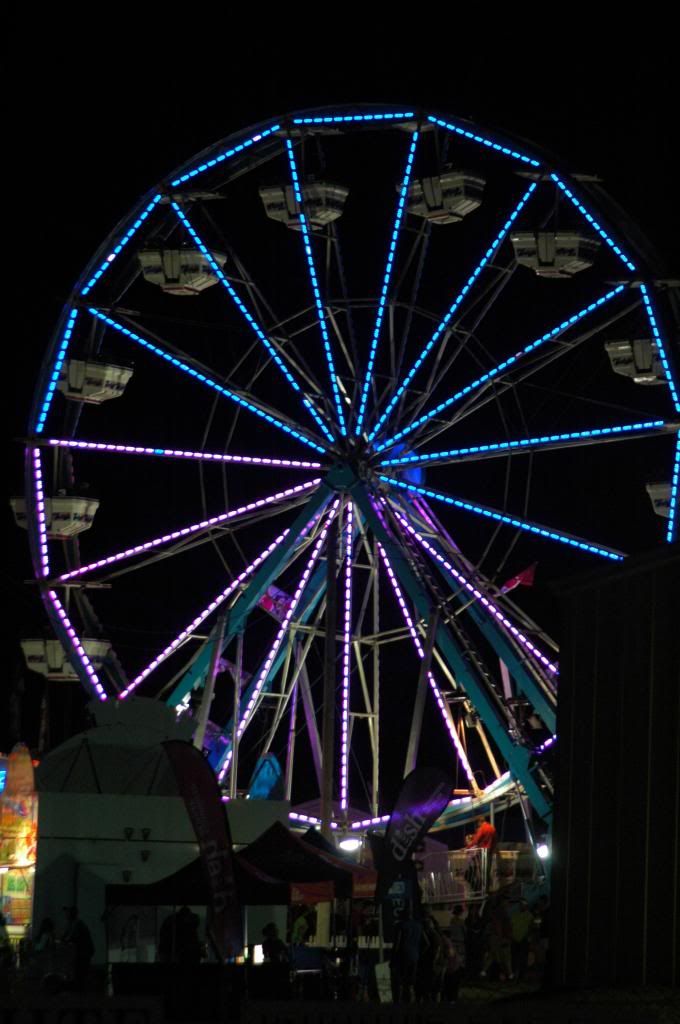
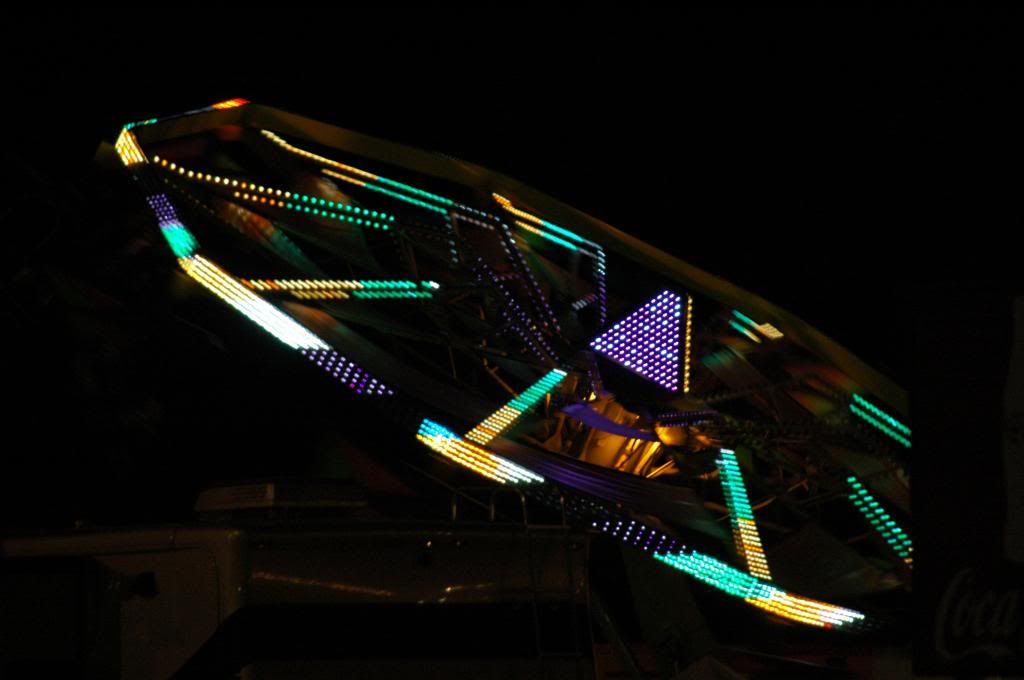
Fair grounds - the ferris wheel was going entirely too slow and where I was taking this picture required a lot of patience from other drivers.  Yikes!  I felt like I couldn't make my exposure too long.  

 photo DSC_0068_zps828dc64b.jpg

 photo DSC_0063_zps12c899d7.jpg
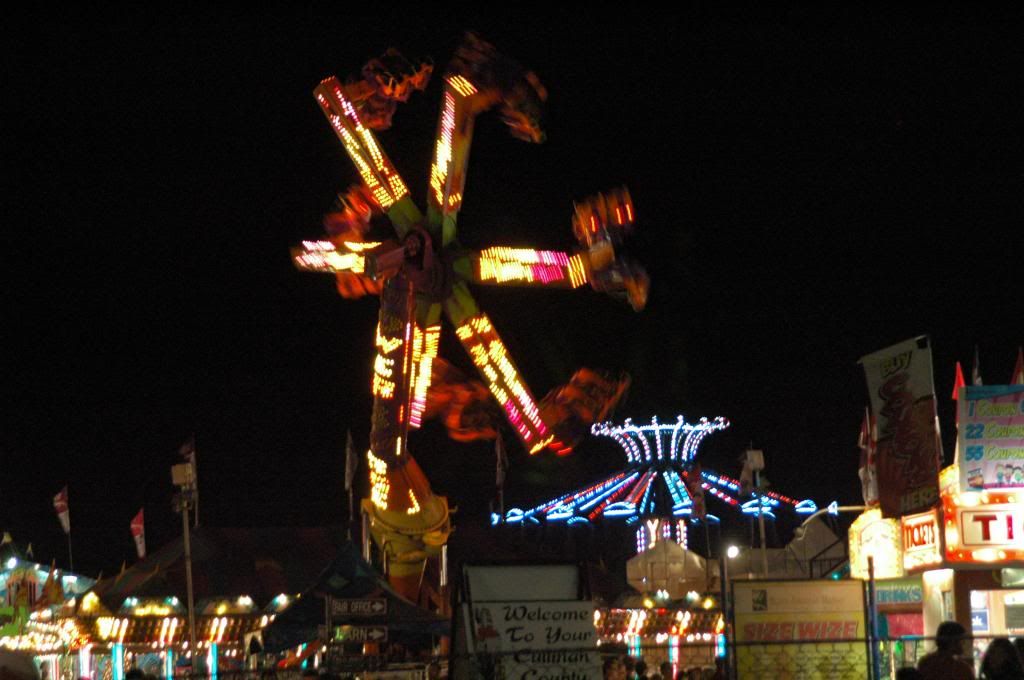
The above two pictures taken at a long exposure and turned out great.  Shutter speeds are awesome! 

 photo DSC_0013_zps83181a89.jpg  photo DSC_0011_zps22e63d6b.jpg
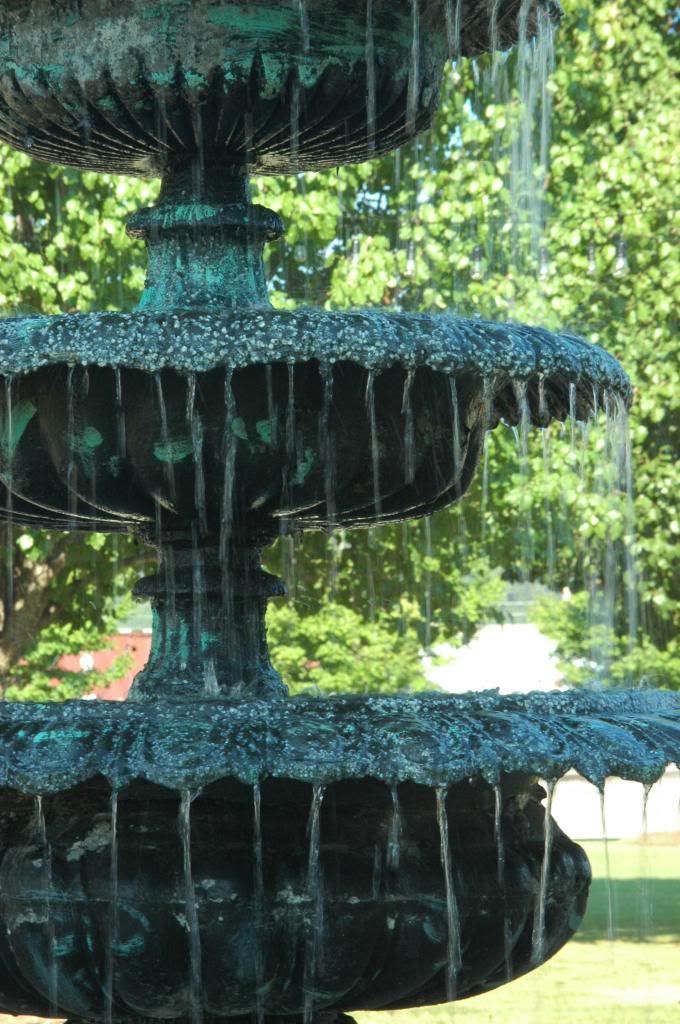
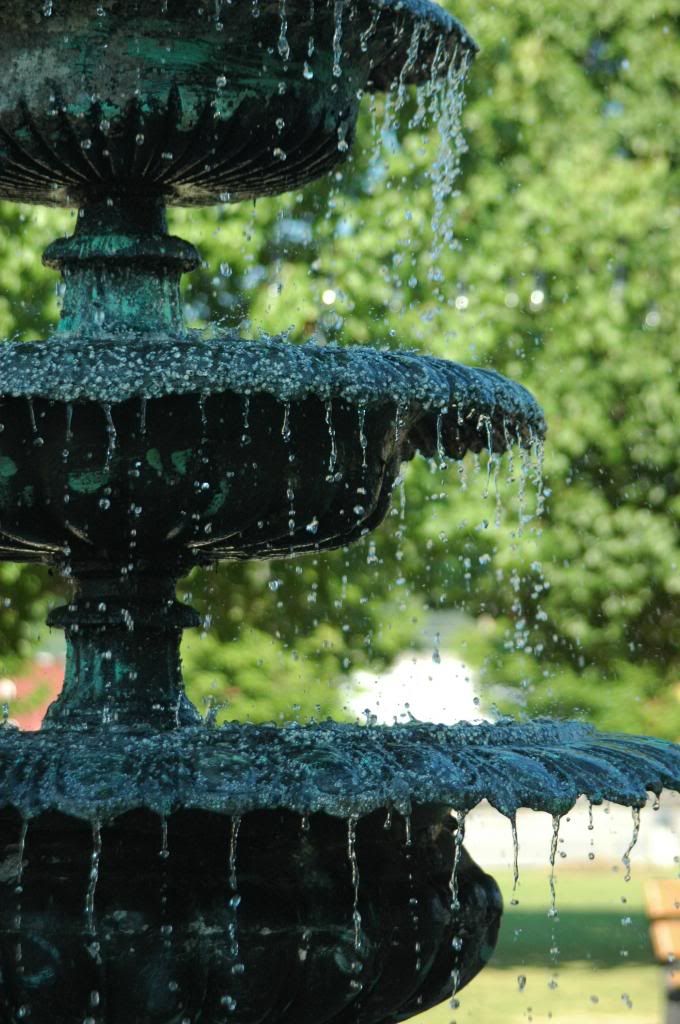
My past class meeting, my instructor really liked my fountain photo.  She challenged me to go back and take two separate photos to see the difference.  It really does give you an entirely different picture.  On the left: I slowed the shutter speed and you can see the continuous flow of water, but notice the lighting and the sharp background.  Whereas the right, the water is slow motion.  The photo is darker because less light is allowed in the camera and the aperture is blurred in the background.