There are 5 types of lighting:
- Front Light
- Side Light
- Back Light
- Silhouette
- Reflective Light
All light is good. Every light has a quality. The smaller the light source, the hard it appears.
Soft and diffused light - The larger the light source, the softer the light appears. Including less contrast, which is good for babies and older people. The morning gives you contrast and shadows. The evening will be softer. Light always comes at a direction because every light has the quality and direction, it will have contrast.
Contrast is harsh light or even all over the photo. It will show up all wrinkles and skin damage. Not good for older people.
Best time to take photographs based on the best quality lighting is summer time because it is closest to the earth. Autumn and winter times are the most harsh lightings. In the afternoon the sun will be small or small light source and farthest from the earth. You will see more shadows and the color is different, harsh and golden.
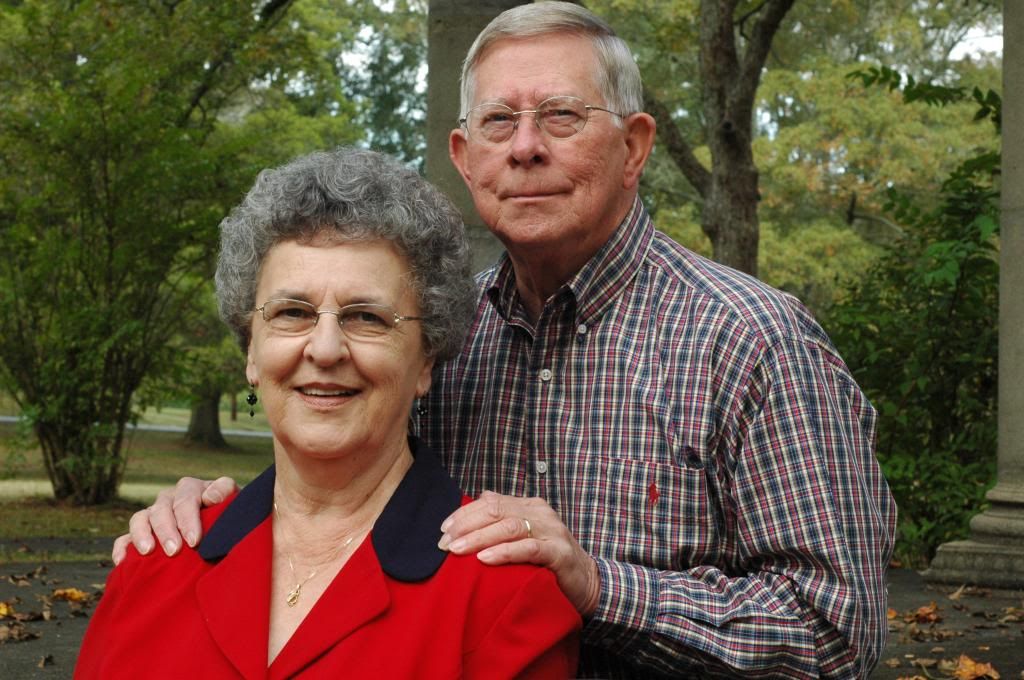
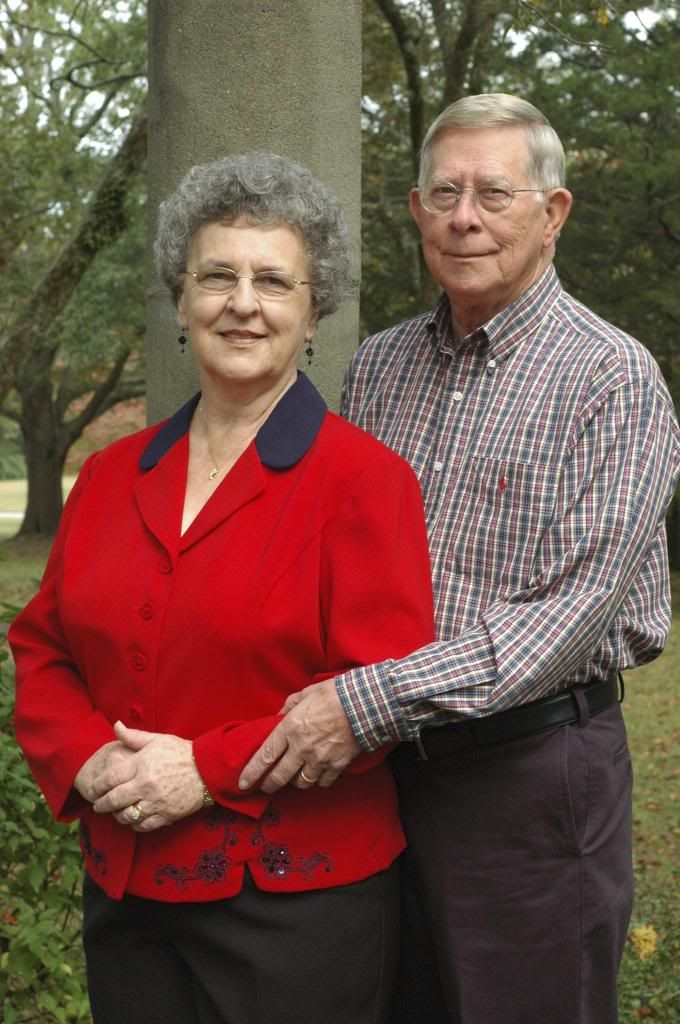
If you take photos in the Autumn. The best lighting is early in the morning or late afternoon preferably in the shade. Direct sunlight will cast a harsh light source, especially in the afternoon. It's best to use the light source by having your subjects 5 steps into the tree line, in front of the sun. This way, you will have enough light and they won't have sun grins or harsh lighting interfering with the photo. You can also turn the subject from side to side, but turn the face towards the light.
For the best evening shots, in the summer start at 6PM. As days get shorter, fall back because light gets more harsh.
Sources of lighting:
- Ambient
- Daylight
- Artificial - flash
Side lighting
Side lighting has shadows on one side, which creates modeling (shape) and detail. Works well for building or object not people, except for young people because the lighting will be harsh. It is the most harsh in the late afternoon. It brings out the roundness and depth.
Watch for the triangle lighting on the face. Using side light but turn face just enough light to make a triangle on the side where the shadow side. It will model the cheeks and chin.
You can make photos during overcast or rain clouds up to a point, right before the bottom falls out. The clouds take the harshness and light is soft and easy.
Back Lighting
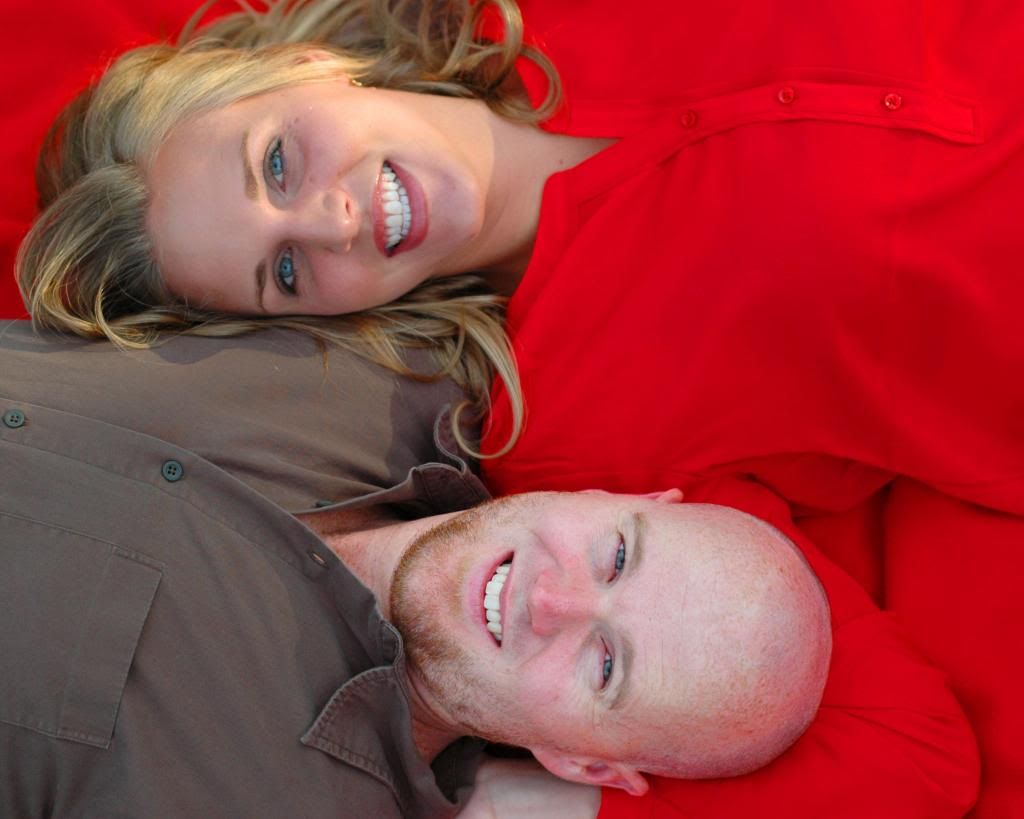
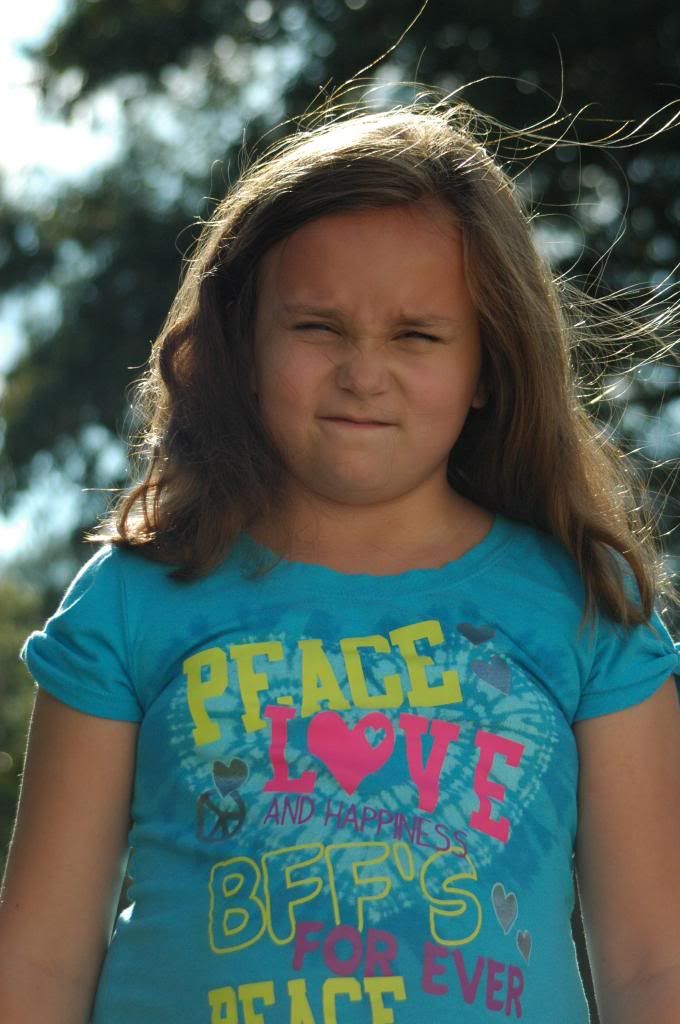
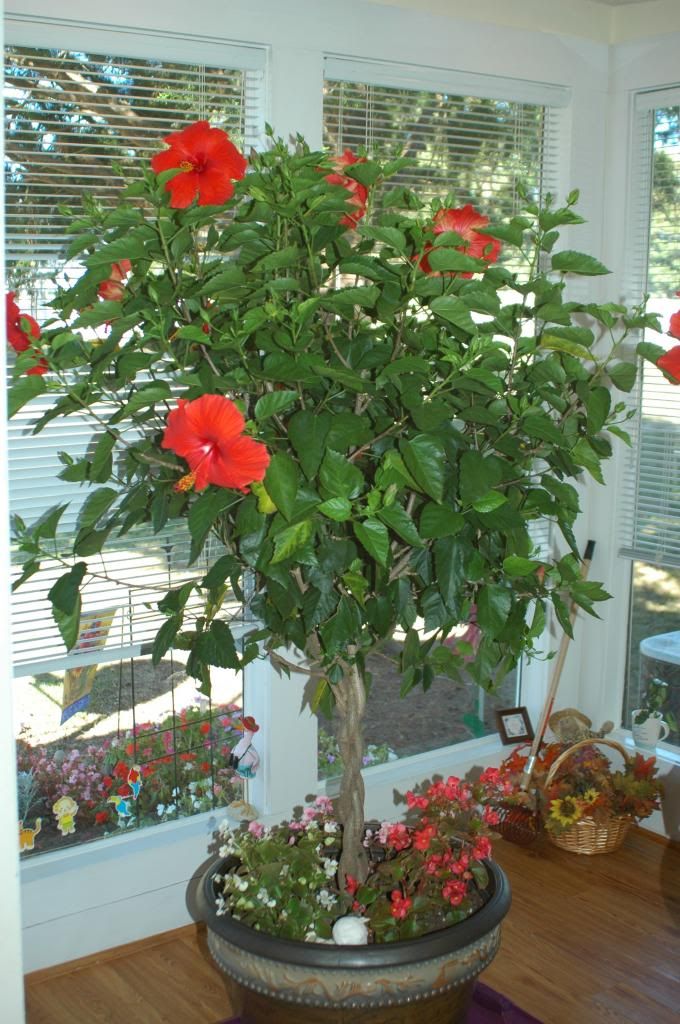
Use a little of it, but not a lot of light. Back light will make a halo around the subject, but have something to reflect the light on the face (reflector, sidewalk, etc.) When you are facing the sun, move over just a hair or you can place hand just over the lens or you will have a glare.
Remember the meter read will reflect light, it will read the light in the back as well. Give equal background lighting to your subject. That is because if your subject were in the shade, but your background is bright, your subject will be dark or black (silhouette).
Moods of the lighting that it sets - Dusk is dark enough for street lights, but before the sky is black.
Capturing Light- overcast
Low lighting in contrast - muted shadows, but good details.
Front Lighting
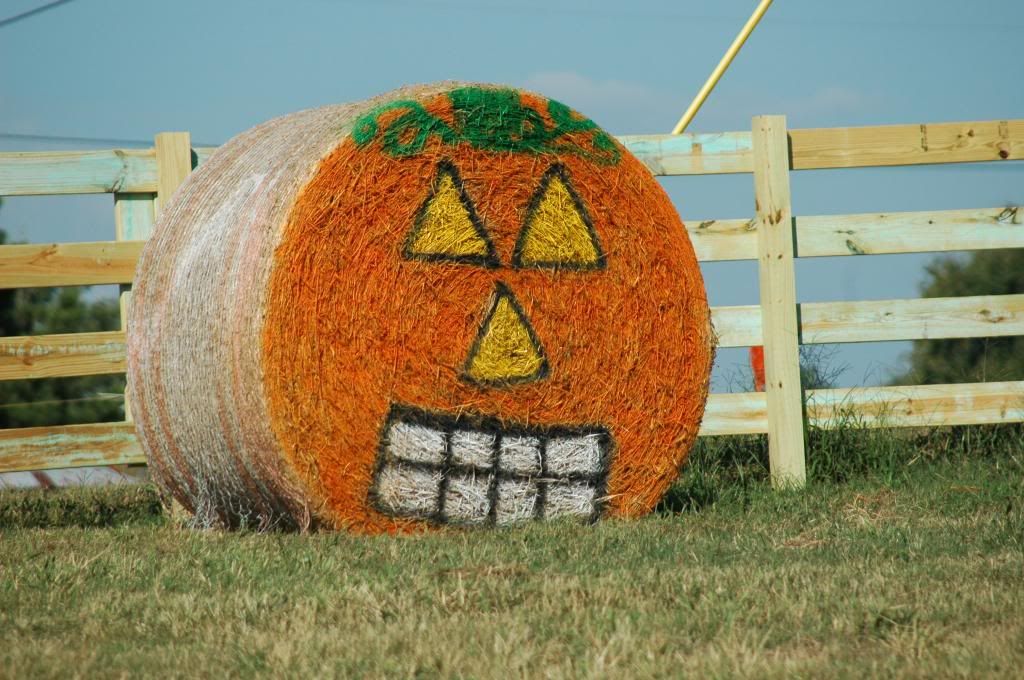
Direct sun in a large area.
Contrast - shadows are soft. Subject needs to be in the shade. If the subject is in the direct light it would make their faces look too harsh. You can have the subject in the harsh light, but don't let them look at the camera because the harsh light would look terrible on their face. Bright light is great with children because you want the shutter speed to be fast for a child that is busy.
For family portrait - it is best in the evening. You must have a large light source and a big enough tree line in order to fit everyone. If you have a family reunion photo, where you have too many people to fit in the shade, it might be best to have all of them in the direct sunlight. Make sure to have them close their eyes until you are about to take the picture.
Reflective Lighting
Reflective lighting is back lighting with a reflective object in the front of the subject. The reflective object can be something white, a cardboard that is white or wrapped in tin foil, rocks, grass, concrete, water, etc. It is best to get close to white objects so it will help make a soft and beautiful light source.
Silhouette
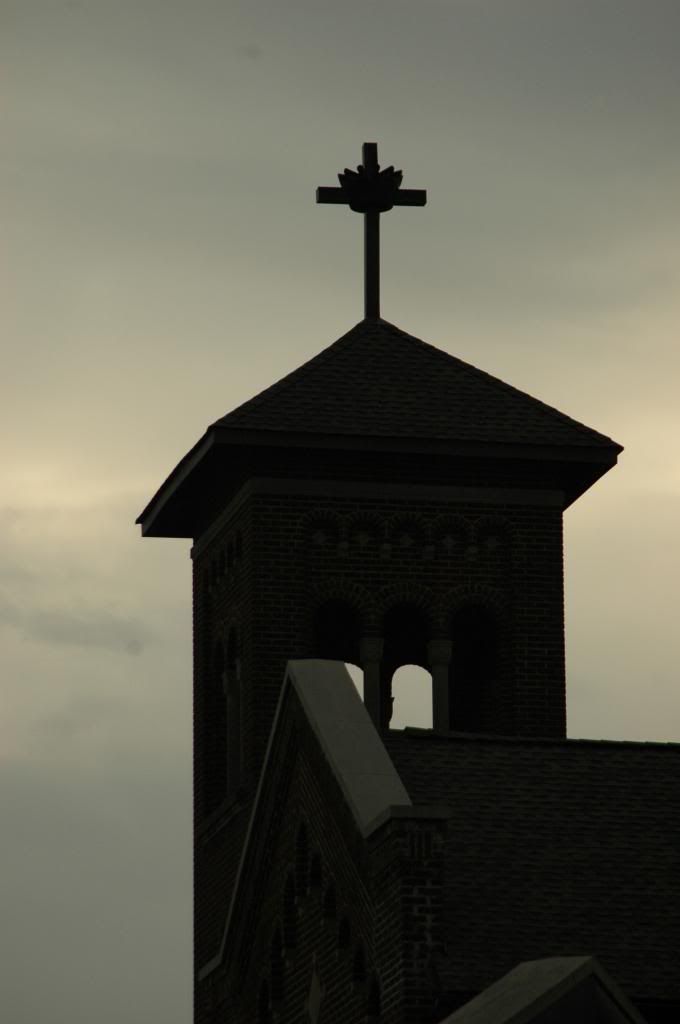
Subject will be completely defined by shape alone. You must have light on one side only. When all the light is on one side of the earth. You will have 2-3 minutes to do this. Use the manual and adjust the exposure +/- (1-2-3 stops) could help create silhouette.
Flash or Artificial Lighting
It eliminates harsh shadows or dark lighting. Might be used especially with family and the background is lighter than the subject. Flash will over expose, if your too close or flash is bigger than the light source (5-6 ft). Button on the side of the camera will force the flash, if you are using Manual, Shutter, Aperture or Program.
Note: With a reflector, always meter to read the lighting.
Key Point Notes to remember:
- Shade in late afternoon - ISO 400 and up (start) for portraits and group photo
- In bright sun - ISO 100-200
- Dusk - building or night time ISO 800 and work way up.
- Keep building in side light for the best detail
- Group Photo - most source of light and huge tree line. Put group in full (40+ people) before putting in tree line because you will have harsh shadow. Just have people close their eyes right before the picture is taken.
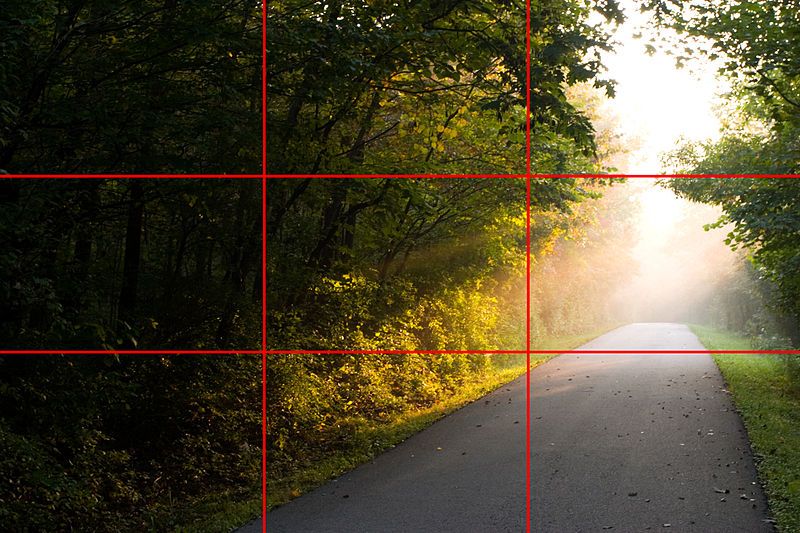 Rule of Thirds
